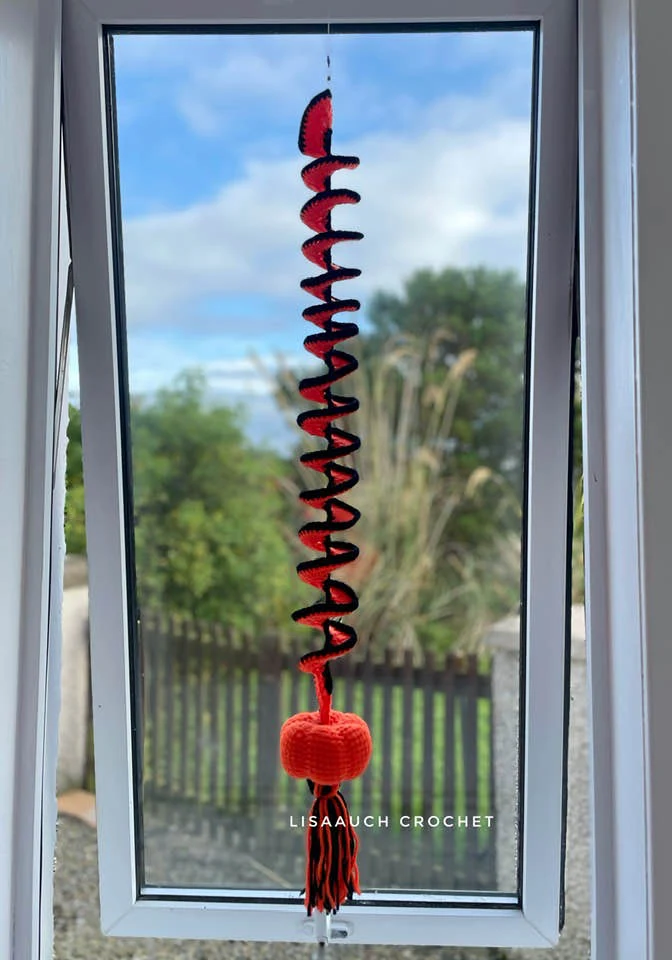
The Crochet ghost wind spinner Pattern is a quick and easy crochet project.
Last year at Halloween we decorated our Porch with Pumpkin Windspinners, and the kids loved them. We did too.
The Windspinners are extremely popular around this time of year and the most popular is the Crochet Sunflower Windspinner.
 |
| Sunflower Windspinner FREE crochet pattern |
PLEASE READ: NOTES on How to crochet the Spiral Windspinner Decorations
- YOu start the ROWS of the wind spinner from the SAME side.
- Once finished you may find the wind the spinner is out of shape, simply wind the circles around the middle, evenly to straighten them out.
- Spray the DISC SIDES lightly with water (DO NOT SOAK ) and put a heavy book on the top to dry. This helps the spiral keep its shape better when put up to hang.
In White or chosen color
Chain 101.
Row 1: working into the 2nd chain from the hook, work sc in each stitch along to the END.
FASTEN OFF
ROW 2: Starting BACK at the beginning of ROW 1, join yarn and work 2dc INTO each stitch to last, FASTEN OFF
ROW 3: Join Yarn at the beginning of work, work 3dc into each stitch to last, FASTEN OFF
Spray with water lightly and twist INTO shape. I place a heavy book on top and leave it to dry. (This will give your wind spinner edges a cleaner look once opened up.
I crocheted a Small Ghost for the bottom weight for the wind spinner, I had originally imagined a round stuffed ghost, like the crocheted pumpkin wind spinner, but by the time I made him he didn't need as much stuffing as I imagined.
 |
| Halloween Crochet Patterns FREE - Small Ghost Crochet pattern |
So I re-imagined him into a slightly more ghost shape. Lightly Stuff the Ghost to give it some shaping, and weight, but do not overfill as it will not hang right for the wind spinner.
Easy SMALL Crochet Ghost Pattern
Rnd 1: Start with 6 sc in a magic ring (6)
Rnd 2: 2sc each st around (12)
Rnd 3: *sc in next st, 2sc in next st* repeat * to * around (18)
Rnd 4: *sc in next 2 sts, 2sc in next st, repeat * to * times (24)
Rnd 5 to Rnd 9: Sc in each st around (24)
Rnd 10: ch 5 (first arm made), sc in the 2nd ch from hook,sc in next 3chs, sc in next 12 sts, ch 5, (the second arm made), sc into 2nd chain from hook and the next 3ch, sc in next 12 sts (38)
Rnd 11: Sc in each stitch including the back of the chain stitches, of previous round,(38)
Rnd 12: sc in first 3sts, 3sctog,sc in next 16sts, sc in nxt 13sts, (34)
Rnd 13: sc in nxt 2sts, 3sctog, sc in nxt 14sts, 3sctog, sc in next 11sts, (30)
Rnd 14: sc in next st, 3sctog, sc in next 12sts, 3sctog, sc in next 12sts.
Rnd 15: 3sctog, sc in next 10sts, 3sctog, sc in next 9sts.
Rnd 16 -Rnd 17: sc in eah st.
Attach the safety eyes between rd 7 and 8 with approx.3sts space in between. Embroider the mouth with black yarn
Rnd 18: sc in next 2 sts, 3sc in next st, sc in next 9 sts, sc in next 6 sts
Rnd 19: sc in next 3 sts, 3sc in next st, sc in next 9 sts, 3sc tog, sc in next 5 sts
Rnd 20: sc in next 5 sts, 3sc in next st, sc in next 9 sts, 3sc tog, sc in next 4 sts
Rnd 21: *ch1, sc in next st* repeat * to * Around
Stuff very lightly and sew the bottom INSIDE of stitches together to close. OR you can make a Tassell and hang from the top of the ghost inside to hang down
Weave in the yarn end
You can see more of my Halloween Crochet Patterns HERE
 |
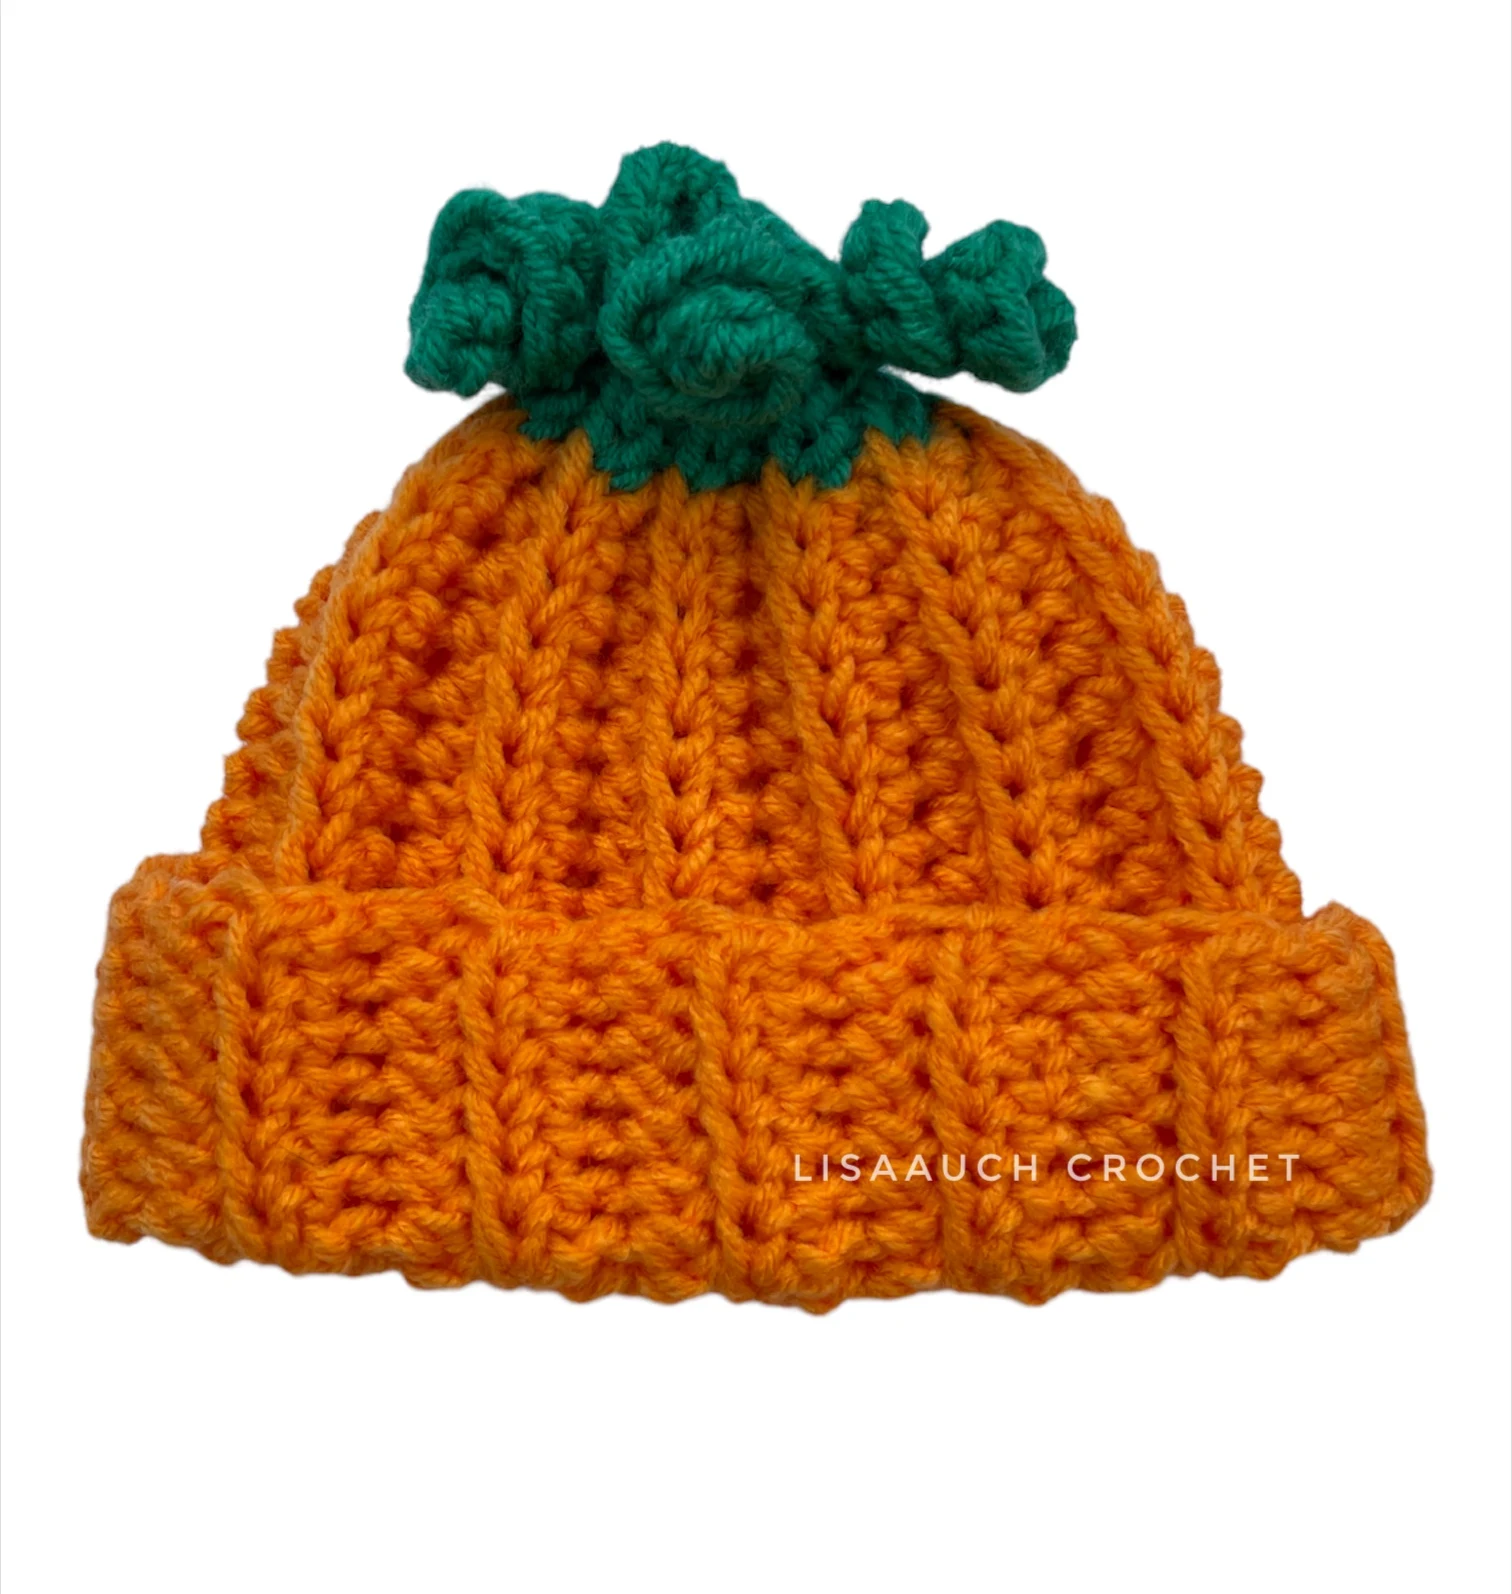
The Newborn Croche pumpkin Hat and Baby Pumpkin Booties makes the perfect gift for a baby - The crochet pumpkin booties are made in the FLAT and SO easy PUMPKIN HAT Crochet PATTERN - HEREPUMPKIN BOOTIES Crochet PATTERN - HERE |
FREE 3 SIZES Crochet Pumpkin Patterns (S,M,L) |
 |
| Hanging Ghost and Pumpkin Pattern FREE |
 |
| Pumpkin Booties FREE Crochet Pattern |
 |
| Pumpkin Baby hat Pattern FREE |
 |
| Pumpkin Windspinner for Halloween Decoration |
 |
| Mini Witches Hat Crochet Pattern FREE |
.jpeg) |
| Small Amigurumi Crochet Pumpkin FREE Pattern |
Happy Hooking (c) All Rights Reserved LisaAuch.com


