How to Crochet a Beautiful Hanging Crochet Lantern Pattern. FREE Written Crochet Pattern.
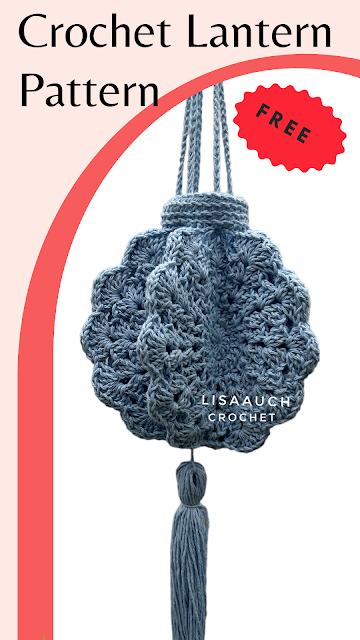
In this blog post, I will show you how to make a simple, elegant crochet lantern that you can hang from a hook, a branch, or a ceiling.
Easy, Beautiful, and Decorative Crochet Lantern Looking for crochet inspiration for your next crochet project?
The website and the FREE crochet patterns are AD supported on the website. Which helps to bring you more free crochet patterns! So thank you for reading
However, You can BUY an AD-FREE version of this Pattern directly from Ravelry and Secure Payment from Paypal for £2.50GBP ADD to your RAVELRY Shopping Cart to checkout Later or
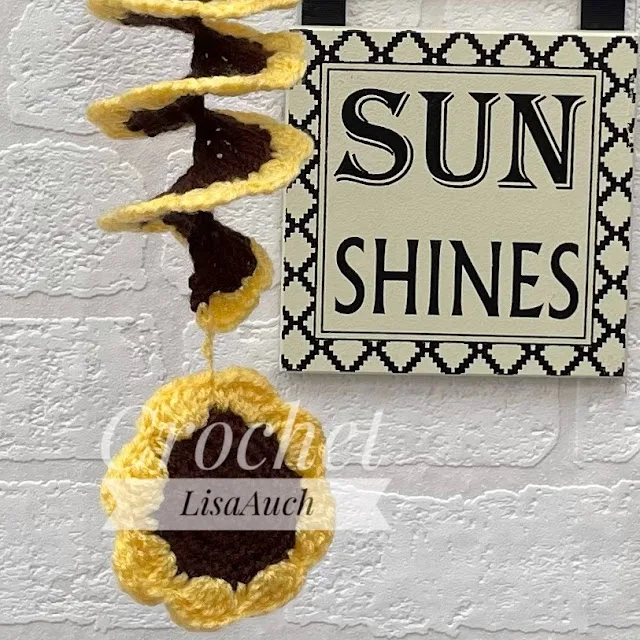
As you may know, I LOVE to crochet projects and hang them in my sunroom I have several crochet wind spinner patterns but my all-time favorite has to be the Sunflower wind spinner Crochet Pattern
 You can find the FREE Sunflower Windspinner Crochet Pattern HERE
If you're looking to crochet something completely different! you might want to try this hanging crochet lantern pattern.
A crochet lantern is a lovely way to add some warmth and style to your space.
 |
Please Pin this for Later on Pinterest
What type of yarn you will need to make your crochet lantern.
- I have found a lovely double knit yarn and a 4.00mm hook that made a nice medium-sized lantern. Which measured 7.5 inches by 7.5 inches (without the tassel or the hanging parts added)
- I have also used a 3.5 mm hook and a DK cotton held together giving a smaller lantern.
- I may perhaps look at making them with some macrame cord and see how they turn out but if you make one I'd love to see it
If you do make a lantern from my pattern please tag me on Social media #lisaauchcrochet and I will find you easily.
I do not sell my finished items as I usually have someone who wants my finished pieces, so sometimes my followers ask for people to make items.
The Crochet Lantern Pattern starts HERE
PLEASE READ Overview of the Pattern and the Construction of the Lantern It is relatively easy to make.
You will
You will
- Create 6 individual pieces
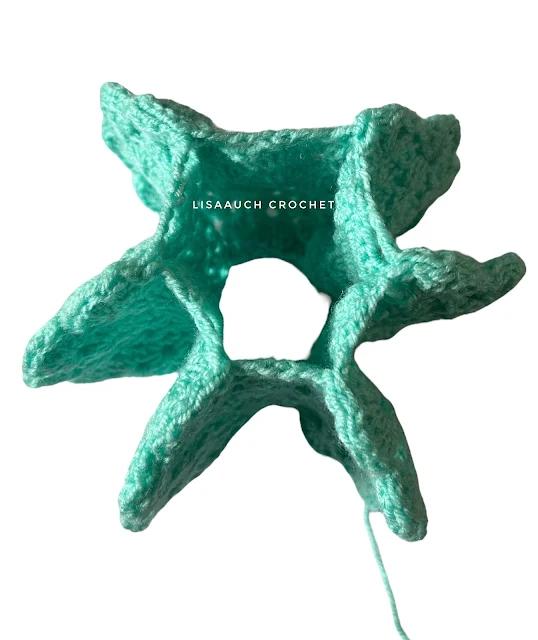
- Sew each of the 6 sides together to form a tube
- Single crochet into each chain 2 space, sc, ch2 space of Bottom, and continue to work 2sctogether to close the BOTTOM of the Lantern
- Single crochet into each chain 2 space, sc, ch2 space at TOP of the lantern, (5 sts for each piece) and working into the 30sts, work a single crochet in the back loops of each round
- The chain lengths are started by working around the single crochet stitch BETWEEN the ch2s of each and work 50 chain stitches (or as many as you want and Slip to join to the OPPOSITE side and join by slip stitch around the single crochet of the alternative side.
- Repeat until you have 3 Full strands all started and finished at opposite sides of the lantern (these must be EQUAL to allow the lantern to hang and take its shape.
Crochet Terms are written in the US
sc - single crochet
dc - double crochet
slst - slip stitch
ch - chain
V stitch = (DC, Ch1, DC ) all in same space
2V stitch = (2DC, Ch1, 2DC ) all in same Chain 1 space
3V stitch = 3DC, Ch1, 3DC ) all in same Chain 1 space
4V stitch = (4Dc, Ch1, 2DC ) all in same Chain 1 space
Make 6 of The following
Round 1: Ch4, and working into the FIRST chain made, work 12Dc sts, slip st to join (12sts)
Round 2: Ch4, 2Dc in each stitch around, slip st to join (24sts)
Round 3: Ch5 (counts as 1st stitch and ch1 of the V stitch), Dc into the same space as a base of chain 5. * Skip 1st (DC, Ch1, DC) all in same space, Repeat from * to * slip to join to the 4th chain at the start. (12 V sts)
**Starting the NEXT and every round from here on by slip stitch along and INTO the chain 1 space of the first V stitch of the previous Rnd,
Round 4: Ch3, (counts as 1st st of the V stitch) and work Dc into the same space, Ch1, 2Dc into the SAME space (FIRST 2V stitch Made), *working into the Next ch1 space from previous round, (2DC, Ch1, 2DC ) all in same Chain 1 space* Repeat around, slip to join to top of chain 3 at the start. (12 2Vsts)
Round 5: Ch3, (counts as 1st st of the V stitch) 2Dc into the same space as base of chain 3, Ch1, 3Dc into the SAME space, *working into the Next ch1 space from previous round, (3DC, Ch1, 3DC)* Repeat from * to* around. slip to join to the top of chain 4 at the start. (12 3Vsts)
NOTE Changes for Round 6
Round 6: Ch3,(counts as 1st st of the V stitch) 3Dc into the same space as a base of chain 3, Ch1, 4Dc into the SAME space,
*Ch2, single crochet into the ch1 of previous round, ch2, working into the Next ch1 space from previous round, work 4DC, ch 1, 4DC all in the same space* Repeat from * to* another 4 times, Ch2, single crochet into the ch1 of previous round, ch2, *working into the Next ch1 space from previous round, (3DC, Ch1, 3DC)* Repeat from * to* end and slip to join to top of ch 3 at the start. (10 x 4 V stitches, and 2 x ch2, sc, ch2)
This is what your piece should look like at the end of Round 6 (10 x shells and 2 x Ch2, sc, Ch2) - MAKE 6 in total for the Lantern
Sewing the Pieces together
HOLD the Wrong side of Circle to the Wrong side of the Circle and start at the end of the chain2
SEW through the top stitches to join the 2 sides - FINISH at the next ch2 ( 5 Shells joined together)
DO NOT sew along the (ch2, sc ch2 spaces)!
You will now end up with a tube shape with the Shell edges sticking out. Do not worry about the shape just now! The weight helps shape the lantern when hanging!
Flatten out your lantern and JOIN your yarn to ANY of the sides (this will be the bottom) and Single crochet into each (chain2, and single crochet, chain 2) of Round 6
once you have 30 stitches, decrease around in every stitch, until you have around 5 stitches left. Fasten off and use the tail to weave in the ends.
Return to the TOP of the lantern and join yarn and work a single crochet into each ch2, sc, ch2 of each side around
Slip to join and work 4 ROUNDS in Back loops single crochet (see pic Below)
HOW To make the hanging TIES of the lantern
Join yarn to ANY single crochet from behind and around the single crochet POSTI chain 50 and join in the same way as the OPPOSIT single crochet
Repeat This 3 TIMES ensuring always working around the back post of the single crochet to join.
I do not know how but this helps stabilize the lantern when hanging! Magic!
Create a small tassel to attach to the center bottom of the lantern and ensure all ends are woven in neatly
Please Pin this for Later on Pinterest
I love creating unusual crochet decorations like my little hanging basket of sunflowers I recently released

.jpeg)

.jpeg)


.jpeg)
.jpeg)
.jpeg)
.jpeg)


