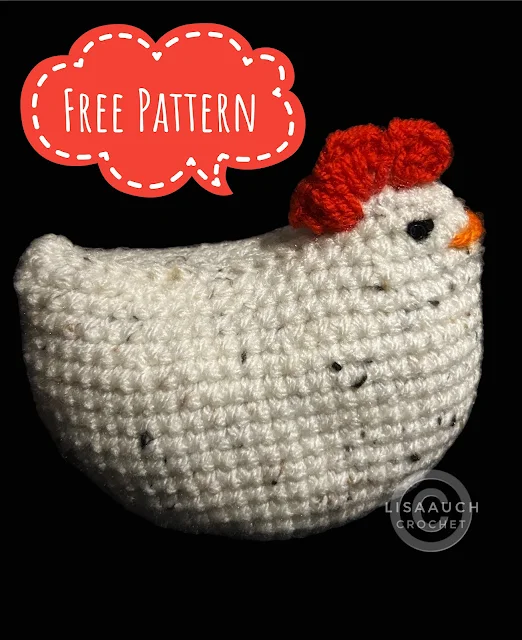
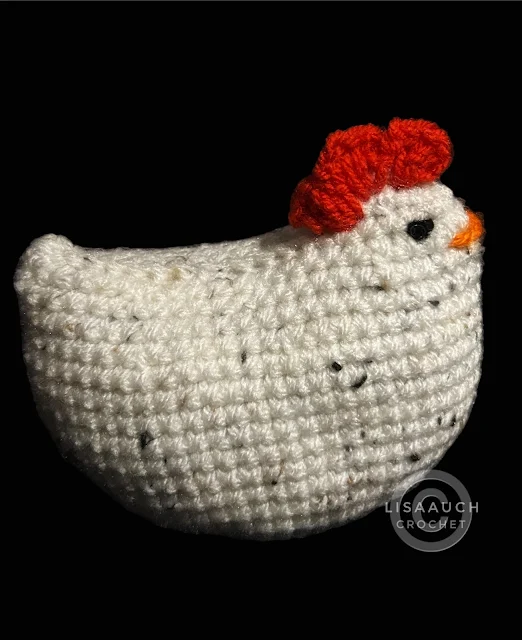
How to crochet a Chubby Chicken! This is a Super Quick EASY & FREE Crochet Chicken Pattern.
The Crochet Chickens are the Perfect last-minute stock for market prep.
And I put this Crochet Chicken in my What to Crochet when I am bored folder!
It is that easy to crochet this Plush Chicken once you have made it you will be able to make it time and time again!
I have an Ad FREE PDF Pattern to Buy on RAVELRY. Thank you for your continued support.
 |
| BUY NOW - Direct Download and Secure Checkout from Paypal |
I guarantee these crocheted hens are as fast to crochet as they are to sell.
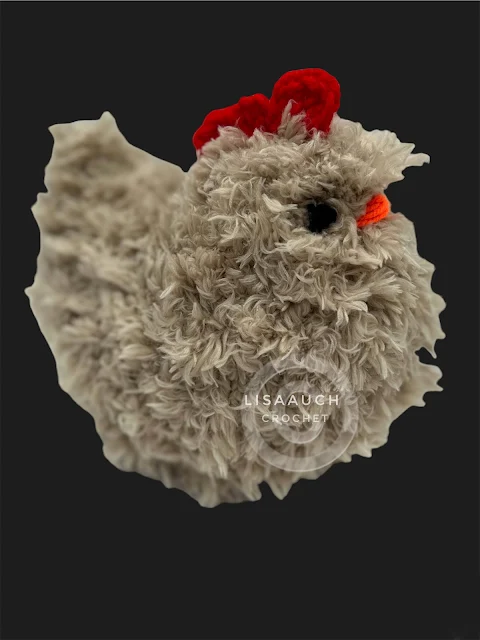
I used a Fluffy yarn and Oh my goodness the chicken turned out adorably cute!
You will soon be inundated with orders of the fluffy plush chickens.
I met a crocheter who had SOLD out of these crochet chickens she was selling at a farmers market in all shapes, all sizes, and in all types of yarn!
Chickens made with Double knit/ worsted weight yarn, chunky fluffy yarn all in varying sizes from Large Crochet chickens to small!
Chicken Crochet Pattern is NO SEW. HOWEVER, if you prefer to sew the eyes and beak on! you will need a yarn needle.
This no-sew chicken pattern is written like amigurumi crochet patterns and you should note you work in continuous rounds.
Is amigurumi suitable for beginners? amigurumi is simply the Japanese name for making toys, using a single crochet with tight close stitches. amigurumi has grown in popularity due to the easy nature of the written patterns.
I have crocheted the chicken in Worsted Weight using a 3.5mm hook and the height measured just over 4.5 inches tall and the Flutterby Chicken stands 7.25 inches tall.
Can you crochet this chicken even though you have never done amigurumi before?
There is only a very slight difference between regular crochet and amigurumi. Amigurumi patterns have less detail included and often look written in some cases like shorthand abbreviations.
When working in the amigurumi style of crochet I prefer to use, YARN UNDER your hook instead of YARN OVER your hook.
The yarn under method, when used in amigurumi style crocheting, can produce neat firm stitches that resemble tiny Xs. In addition, and working yarn under can prevent the stuffing from showing through the gaps.
How to Work the YARN UNDER Single Crochet Method
The Yarn Under method
- put your Hook into the stitch, passing the yarn underneath by pulling through (NOT YARN OVER Pull through as you would normally make at this step here) Simply bring it to the front under the hook.
- Thread the yarn through the opening. Your hook now has two loops on it.
- To finish the single crochet stitch, yarn over and pull through both loops as you would normally.
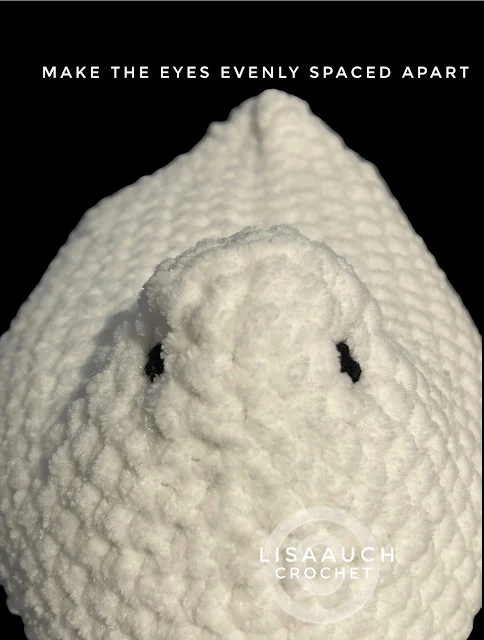
Note: you may find you prefer to use a Yarn needle to sew the Beak and sew eyes on, I use my hook to pull the thread through and just knot the eyes to secure, Use your hook to pull through the loose ends of yarn and hide.
Note: Disclaimer: This post may contain affiliate links. If you choose to make a purchase after clicking a link, I may receive a commission at no additional cost to you. Thank you for your support!
- Yarn weight - I used James C Brett Flutterby Yarn. You can use any type of yarn compatible with a hook you have chosen to crochet the chicken top ruffle on the head I used a scrap of Aran weight yarn.
- Crochet Hooks Used - I used a 4.5 mm crochet hook for the Flutterby yarn and I would recommend using either 1 or 2 down from the recommended hook Size for your chosen yarn
- Stitch Markers (3) - You will need the marker to keep track of Rounds, and also you will require 2 markers to mark the stitches when crocheting the Chicken's head.
- Stuffing Fibre Fill for ToysI buy my Stuffing in BULK from Amazon - HERE, When it comes to filling your chicken with stuffing make sure to shape the chicken
- OPTIONAL Safety EYES. You CAN use Saftey Eyes if You wish
- Alternative EYES - Yarn needle I just use black yarn for the eyes, Knot a couple of times over the knot you have just made, then Use your hook to pull through the loose ends of yarn and hide.
- Scissors
Abbreviations and Stitches Used to Crochet the Amigurumi Chicken
- Rnd = Round
- sc = Single Crochet
- sts = Stitches
- dc-double Crochet
- sl st - Slip stitch
- ( sts) number of stitches at ends of row
- * to * - Repeat the instructions between the asterisks
- inc = 2sc = work 2 single crochet into the SAME space (INCREASE )
- dec - sc2tog - Work 2 single crochet together (DECREASE) (to make an invisible decrease, insert hook into the front loop of BOTH stitches, YARN OVER HOOK and pull through the 2 front loops, continue to finish off stitch by yarn over pull through
NOTE: You do NOT NEED a magic ring to crochet this chicken at the start as I find they are hard to pull to tighten and can easily snap your yarn instead use a Ch2, and work ALL the Round 1 sts into the
For adding features to the hen You will be 'Surface crocheting' simply by working into the posts and stitches already created by the rows,
TO start the Chicken ch2,
Rnd 1: work 8 sc into the first chain from hook (8 sts)
Rnd 2: 2 sc in each st around (16 sts)
Rnd 3: *2 sc in next st, 1 sc in next st, repeat from * around (24 sts)
Rnd 4: *2 sc in next st, 1 sc in each of next 2 sts, repeat from * to * around (32 sts)
Rnd 5: *2 sc in next st, 1 sc in each of next 3 sts, repeat from * to * around (40 sts)
Rnd 6: *2 sc in next st, 1 sc in each of next 4 sts, repeat from * to * around (48 sts)
Rnd 7: *2 sc in next st, 1 sc in each of next 5 sts, repeat from * to * around (56 sts)
Rnd 8 To Rnd 16: sc into each stitch around (56sts)
Rnd 17: *sc in 5 sts, Sc2together* repeat from * to * around (48sts)
Rnd 18: sc in each st around / (48sts)
Rnd 19: sc in each st around (48sts)
Rnd 20: *sc in 4 sts, 2sctog, * repeat from * to * around (40sts)
Rnd 21: sc in each st around (40sts)
Chicken HEAD
Continue working Sc2together (DECREACE) around, until you have 4 sts left. FASTEN OFF and weave in the end and pull to close.
(IF you prefer ADD the safety eyes HERE, or continue and add eyes using black yarn later.
At the bottom of the head (9th st from previous round) join yarn and slip stitch to join, working sl st to the end of the row)
Adding the Chicken Features
How to make a French Knot -Thread the needle with yarn, and knot the end.
Bring the needle up through the fabric where you want the knot to be
Hold the needle horizontally and wrap the yarn around the needle 3 or 4 times, (The more you wrap the bigger the knot/EYE will be )
insert the needle close to where you pulled up but not the same space, hold your fingers over the wrapped yarn to help ease into a knot, and pull to finish. repeat another side
BEAK - Take a small amount of ORANGE or YELLOW for the BEAK, and sew directly over the front couple of stitches (Make sure this is the center of the head)
Red Head Ruffle for the Chicken
Taking RED yarn insert the yarn and join at the Back of the head (SEE Pic Above )
Chain 3, and working UP towards the TOP of the Chickens head, work 3dc into the next space, and ch2, sl st into same space to finish first ruffle,
2nd ruffle, ch3, 3dc into the next space, ch2, sl st, to same space to finihs 2nd ruffle
3rd ruffle, ch3 and 3dc into the next space, ch3, asl st to same space to join.
Fasten off and Weave in all Ends
that is you now finished your chicken, Id love to see them so if you share online please tag me #lisaauchcrochet.
 |
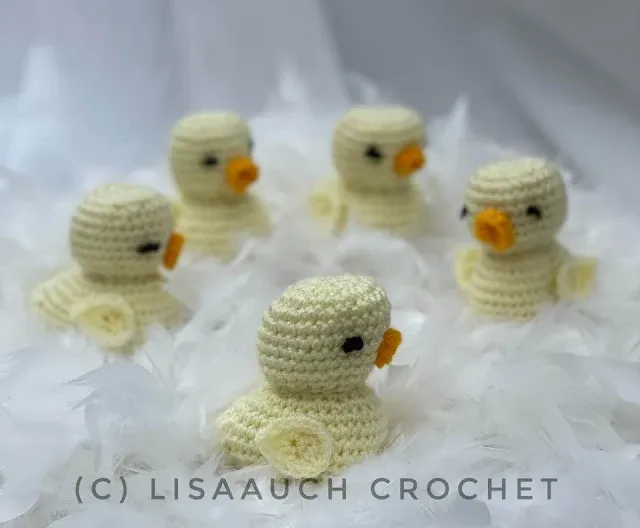
I also have a small all in one no-sew crochet chick and hen patterns, mostly used as keychains but the chicks make delightful bag charms or the popular plush crochet emotional support pets
 |
| Low SEW Crochet chick amigurumi pattern FREE |
 |
| HAT, Booties and Diaper Cover FREE Patterns |
You MUST acknowledge LisaAuch.com as the original designer.
YOU will NOT copy or distribute the pattern online TEXT OR PDF, in part or whole anywhere else,
or by creating an online video of my pattern. Without my express written permission.
You can share a picture of the finished item. With a link BACK to the Page of my website the pattern is shown on
You must NOT use my pictures in any way to sell a finished product. You must use your own.
You will NOT copy or duplicate this PATTERN(whole or in part) onto ANY other SITE online.
Without my express written permission. You will not crop or heavily EDIT the images belonging to LisaAuch Crochet/ Lisaauch.com,
nor add any further TEXT or Imaging to them.
This pattern may contain affiliate links.
Where I may make a small commission from your purchase at no extra cost to you
Happy Hooking (c) All Rights Reserved L

.jpeg)


.jpeg)

.webp)

