This is a straightforward easy Solid Granny Square Crochet Bag Pattern. Using the Solid Granny Square pattern on the previous page - HERE we will join several granny squares together in a specific layout to crochet a medium-sized bag with handles.
 |
| Granny Square Bag Pattern |
Following on from my 10 crochet Granny Square bag (The Daisy Flower Granny Bag) and the 13 Granny Square Crochet Bag (The Sunflower Granny Square Bag) were now onto the Next layout with the next sized bag in which we will require 17 solid Grany Squares.
This Granny Square bag was the Request from a new mum who wanted a crocheted boho style solid granny squared bag for carrying all her essentials in. SO it had to be quite roomy.
I kept the opening at the top of the bag WIDE as it was necessary for the baby blankets and nappies etc fit in.
The mom also came up with an alternative to lining the crochet granny square bag, even though wed used a solid granny square to make the bag. She found this bag insert that she keeps topped up with all the essentials she uses and then just swaps around her outer bags yet never forgets anything as it's all in one place, and keeps everything neat and tidy.
These bag inserts are literally Genius. and turns any bag into a fantastic tote bag.
I mean where were all these time-saving gadgets when I was a new mom.
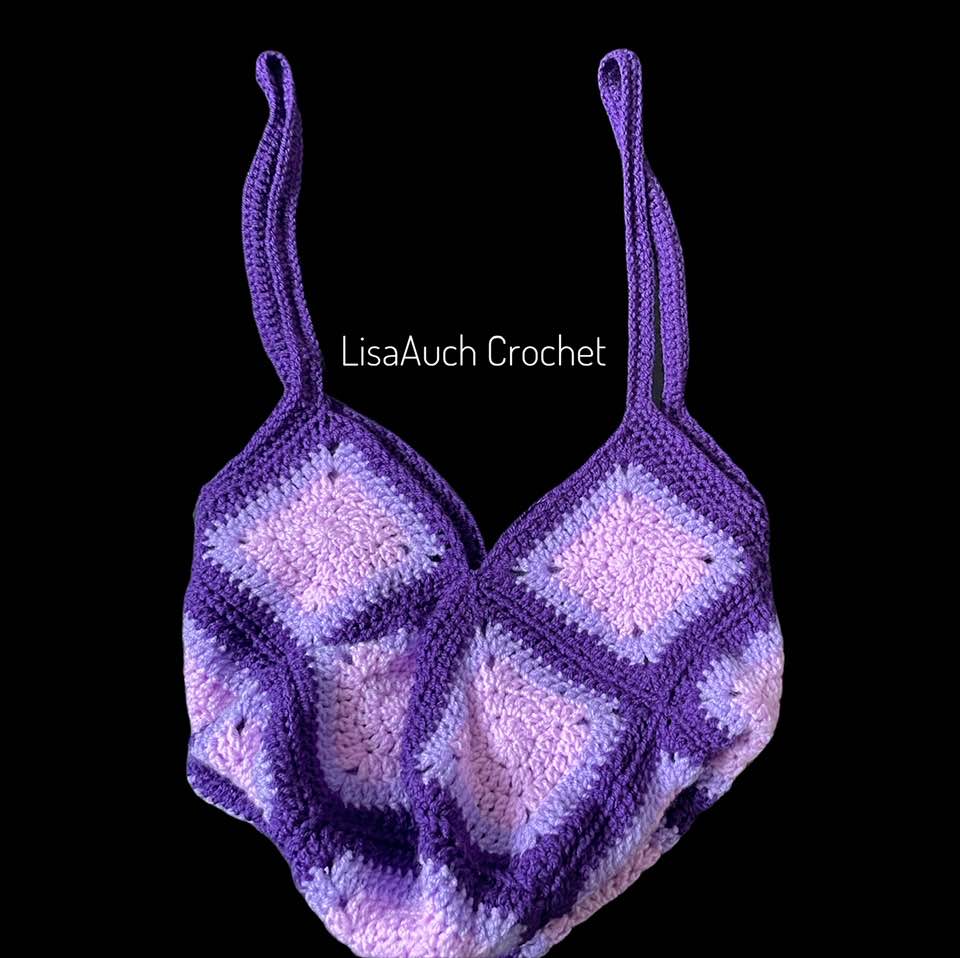
Layout your completed Granny Squares as shown in the picture Below
SEW ALL touching sides together. For a Crochet Bag I prefer the Whipstitch, to join the squares it makes the bag more sturdy and with fewer holes, just make sure, every stitch is lined up to their opponents for a neat finish.
I got my crayons out and drew some lines to help you put the bag together
RED- FOLD IN HALF
Small red arrows - SEW SIDES together
YELLOW - Handles
As you sew together ensure each corner aligns.
Crochet Bag Handles
Looking at the Yellow lines in the above picture for guidance
Start on right side of work facing you, any SIDE by joining handle colour yarn with single crochet,
at the FIRST peak Chain 80 sts and Join to the NEXT peak., single crochet down the next side, when you REACH the VALLEY skip 2 stitches, and continue working in single crochet around, including in every chain stitch you created in the last round. I usually like to make 2 FULL rounds of single crochet worked into the handle.
Next, Turn the bag onto its side so we can crochet the other side of the handles.
This shape will seem odd. But just trust the process.
We are going to join yarn on any SIDE, and again Valleys skip 2 stitches.
We DO NOT CHain on this round we will WORK into the BACK of the chain we already made.
ou will work continuously in single crochet around BOTH handles, and into the valleys of both sides of the bag.

Thank you for visiting my website or purchasing a pattern.
It helps me to maintain the website and buy new materials to make even more FREE PATTERNS.
As always you are free to make and sell items you have made from the pattern. But you must acknowledge LisaAuch.com as the original designer.
YOU will NOT copy or distribute the pattern online TEXT OR PDF, in part or whole anywhere else,
or by creating an online video of my pattern.
Without my express written permission.
You can share a picture of the finished item. With a link BACK to a Page with my website on it
You must NOT use my pictures in any way to sell a finished product. You must use your own.
You will NOT copy or duplicate this PATTERN (whole or in part) on to ANY other SITE online. Without my express written permission.
This pattern may contain affiliate links.
Where I may make a small commission from your purchase at no extra cost to you
Happy Hooking (c) All Rights Reserved LisaAuch.com