Free crochet pattern and instructions to crochet a sunflower bag. In another post, I showed you in detail
How to Crochet the Sunflower Granny square, now we are going to join the granny squares together to make a simple Sunflower Crochet Bag.
TO crochet a bag made with flower center granny square need not be difficult. In fact, once you have the crochet squares made you only need to join them.
You can also BUY an ADD free printable PDF of this Pattern to Crochet the Square and The BAG
Direct from Ravelry with Secure Paypal Checkout
Sunflower Granny Square PATTERN

Here I will show you how the squares are laid out and then how to join your flower Granny squares to make the bag.
IF you need the
FULL FREE Written pattern for the Sunburst Sunflower Granny Square Center please Visit HERE
As you can see by the Picture above the market bag is deeper and bigger,
For this type of crochet bag which is a bit smaller, Than the Crochet Tote bag made with the Daisy Centers. It is more of a handbag. and you will require 10 Granny Squares to make a bag.
For this Granny Square Flower, I used Double knit yarn and a 4.500mm hook.
But you can choose what yarn weight you would like and adjust the hook size accordingly.
TO Start the Crochet Sunflower :
In Brown
Ch5, slip to the first stitch to make a circle. We will now work our first round of PUFF stitches into the Circle.
Rnd 1: ch2 to start *Puff stitch, ch2*
Repeat 8 times (8 Puff stitches)
Rnd 2: *work 1 puff st, ch2, puff st, ch2, * into ch2 space of the previous round Repeat * * around
(16 Puff stitches)
Change to YELLOW
This round will be made up of 16 4dcClcusters worked into the same space = work 4dctog in the ch2 space
Rnd 3: *4 dC cluster into the first ch space of previous round, ch2, *4d ctog cluster, ch2 in next ch space* repeat around (16x 4dctog Clusters)
Turning the circle into the Square
Change to WHITE:
Join White yarn in ANY chain 2 space of the previous round.
Rnd 4: ch3, (counts as first TrC ) 2treble crochet in SAME space, ch3, 3 treble crochet (corner)
*3dc in nxt, ch2 space, 3 hdc, in nxt sp, 3 dc in nxt sp, (3tr ch3, 3tr)* Repeat around,
slip to join.
Rnd 5: Slip along to the FIRST space, work 3dc in each space, until the corner, work 3dc, ch3, 3dc into the corner of the previous round.
Continue working around the Square, Sip to join. Leave a long tail here to help you join the sides together. Fasten off and weave in ALL other ends as you go.
The Layout needed for your Crochet Granny Squares as per the picture bleow
Note the ORANGE lines.
This is how you will sew up the Crochet bag.
How to join the Granny Squares to make the bag. You can choose what to join the squares with Either a new length of yarn OR the long length you left after the last round. I find using the long length of yarn the easiest.
I Lay all the squares out as I need them and I join as I work following the diagram for what sides to join to what side.
Always Start at the Middle chain of the Chain3 CORNER. (you will find there may be several times you join into the SAME stitch to join as you go.
Continue sewing together by weaving through the furthers away loops of each square together. I like to sew the end together FLAT as I find this helps to keep the work nice and tidy. If I try to do it any other way I find the seam can Bunch up and is really hard to get straight again.
Fasten off and weave ends in tightly.
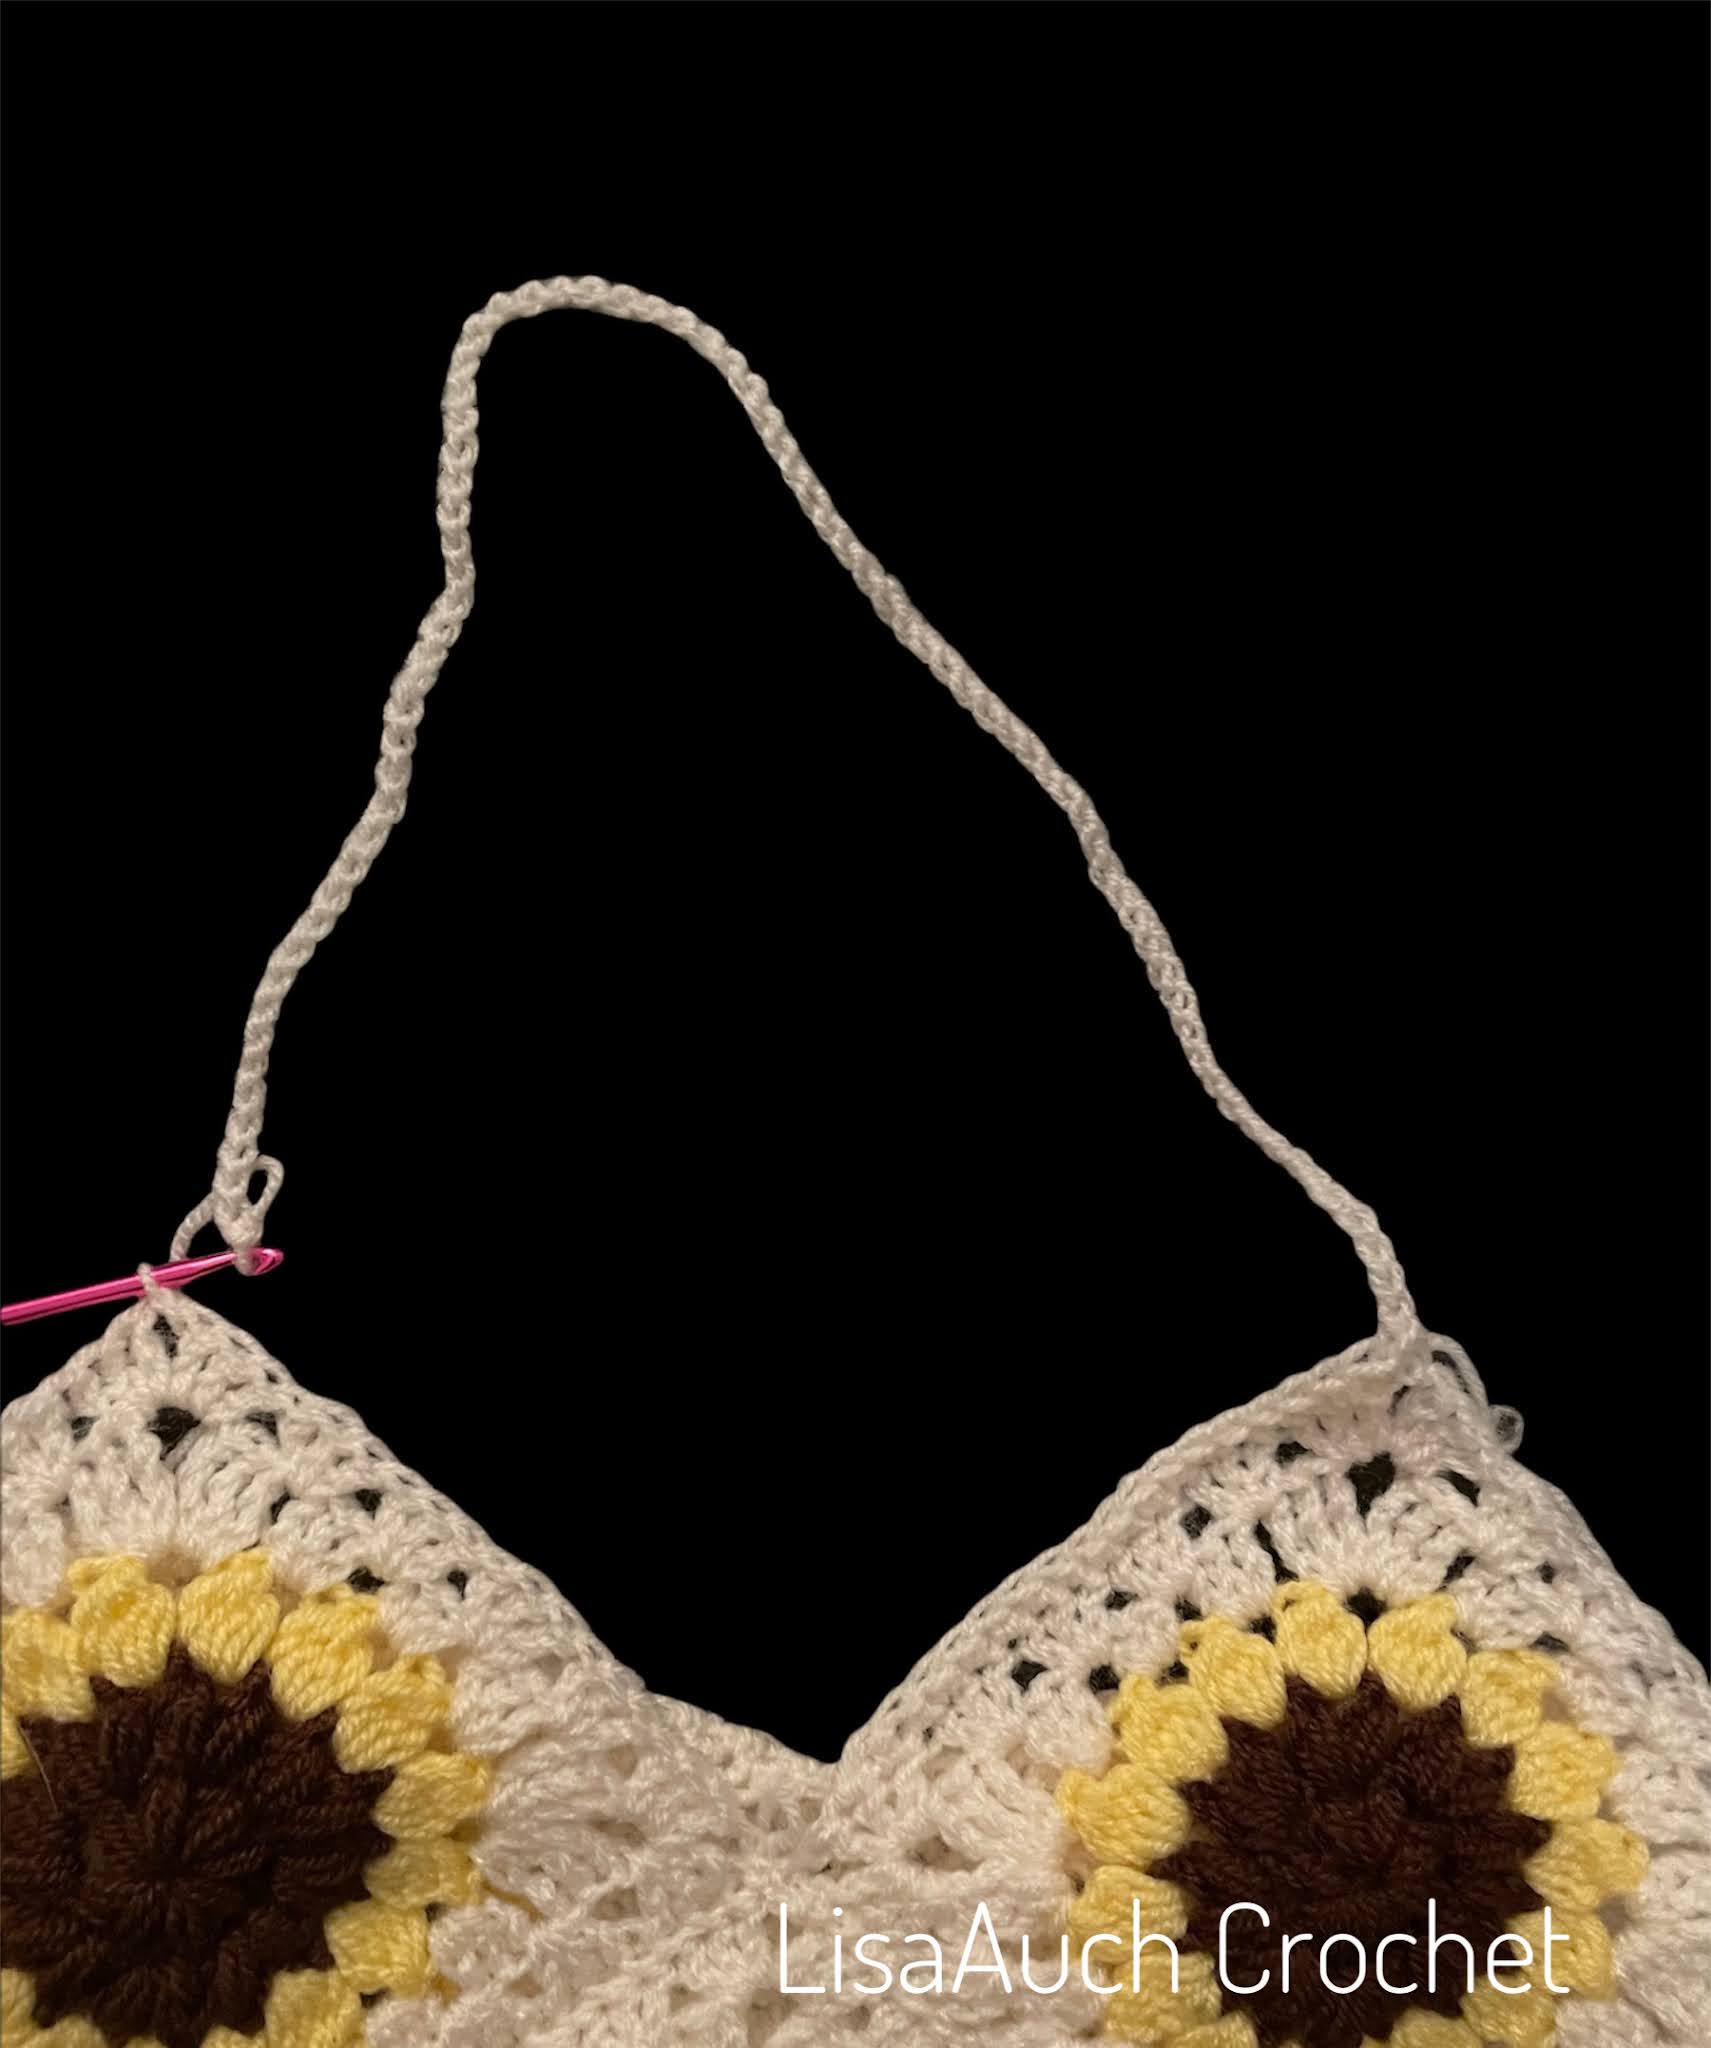
Crochet Bag Handles
LAY your bag flat so the 2 peaks are at the top. Starting on any long side, join yarn and single crochet to the first PEAK. Chain 80sts (Or however many you wish your straps to be) and JOIN to opposite PEAK.
Ensuring your chain is not twisted, single crochet to the VALLEY and skip 3 stitches, single crochet slip to join.
Rnd 2 and Round 3: single crochet in each stitch and in every chain stitch, single crochet until the VALLEY and skip 3 stitches, working in single crochet up the opposite side. FASTEN OFF and weave in ends.
now you are going to join the yarn into the UNWORKED sides and work in single crochet (Skipping 3 stitches at the VALLEY, and skip 1 stitch at the peak to join onto the OPPOSITE side of the chain stitches, and work around The handles.
REMEMBER to Skip 3 Stitches on the VALLEY (one sitch from each side of the crochet squares and the middle bottom st)

Thank you for visiting my website or purchasing a pattern.
It helps me to maintain the website and buy new materials to make even more FREE PATTERNS.
As always you are free to make and sell items you have made from the pattern. But you must acknowledge LisaAuch.com as the original designer.
YOU will NOT copy or distribute the pattern online TEXT OR PDF, in part or whole anywhere else,
or by creating an online video of my pattern.
Without my express written permission.
You can share a picture of the finished item. With a link BACK to a Page with my website on it
You must NOT use my pictures in any way to sell a finished product. You must use your own.
You will NOT copy or duplicate this PATTERN (whole or in part) onto ANY other SITE online. Without my express written permission.
This pattern may contain affiliate links.
Where I may make a small commission from your purchase at no extra cost to you
Happy Hooking (c) All Rights Reserved LisaAuch.com

")