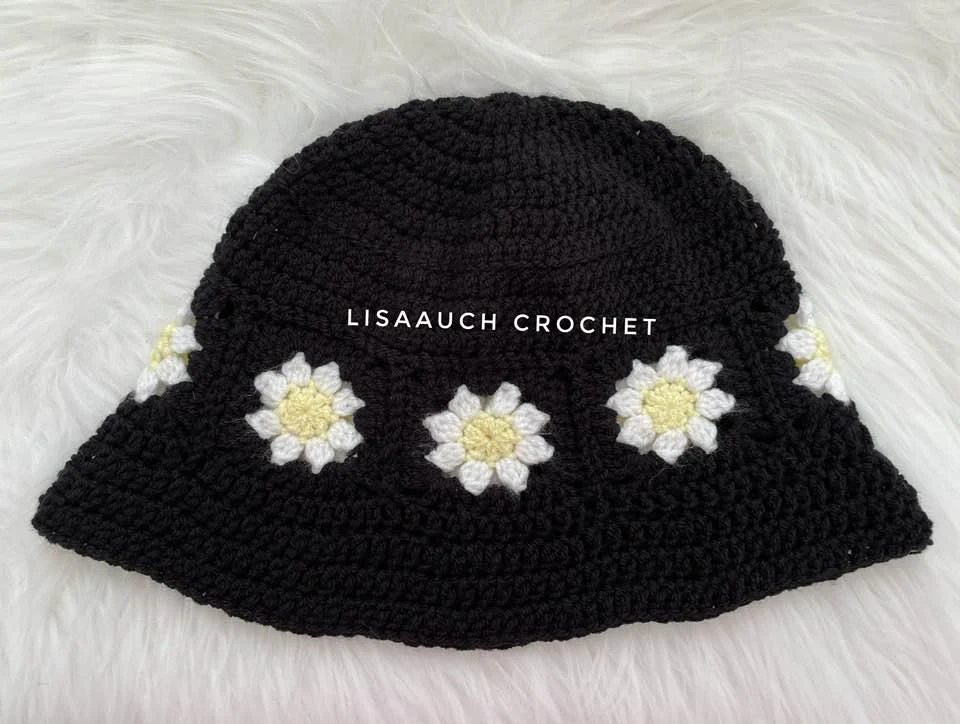
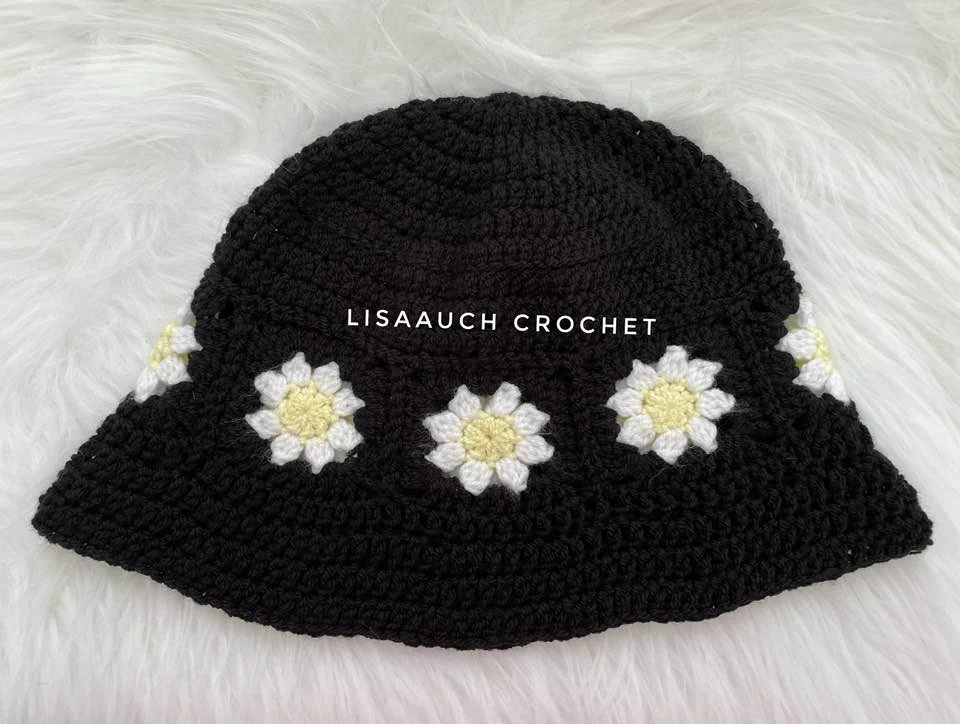
Daisy Flower Bucket Hat Crochet Pattern FREE by Lisa Auch Crochet. This is a Free Written Crochet pattern to create the Basic Black crochet bucket hat with daisy flowers around it.
 |
| Image Credit @thecasualcampervan Model - @linsey_lyons |
If you are wondering how to crochet a daisy flower granny square bucket hat then grab your yarn and hook (you will need double knit yarn and a 4.0mm hook ) follow this easy written crochet pattern, and create This bang-on-trend granny flower bucket hat.
These bucket hats are flying out the doors at the craft sales. The Bucket Hat is the essential upcoming summer headwear. I recently published a Granny Square Bucket Hat and I cannot keep up with orders I've had to send out some help requests to my fellow hookers to keep up with orders.
 |
| Model is Wearing the Original Crochet Bucket HAT |
You can BUY an AD free Printable PDF straight from Ravelry
with Paypal secure Checkout
HERE
or continue reading for the FULL written crochet bucket hat pattern with photo tutorials Round 1: Yellow (center)
Chain 3.
work 8 dc into the first chain.
join with a slip stitch and fasten off.
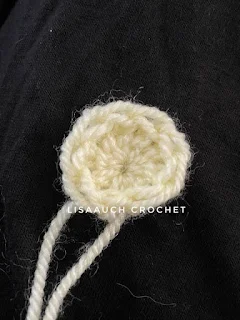
Rnd 2:
1st daisy petal:
ch3, (the chain 3 at the beginning is counted as a dc)
and work 3dc crochet cluster.
(Yarn over, insert hook, yarn over, pull through, yo pull through 2 loops only.
repeat 2 more times until you have 4 loops on your hook.
yo and pull through all 4 loops.)
ch 2.
Cluster continued: in the next stitch make a 4 dc cluster in each remaining dc stitch for a total of 8 petals.
(yo, insert hook, yo, pull through, yo pull through 2 loops only.
Repeat 3 more times until you have 5 loops on your hook.
yo and pull through all 5 loops.)
ch 2.
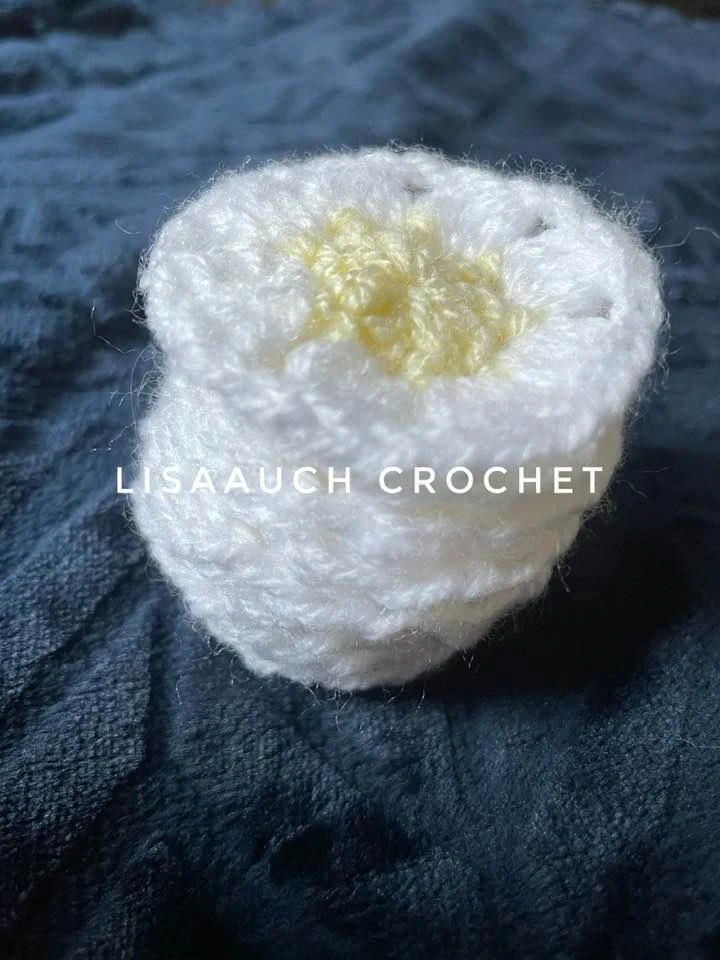
Round 3: Change to BLACK color yarn and ch 5.
*Make 3 dc stitches in the next ch 2 space.
In the next ch 2 space make (3 dc, ch 2, 3 dc )for the first full corner.*
Repeat * to * until you get back to ch5.
Make 3dc, ch2, 2 dc in the space before ch 5.
Sl st to the 3rd chain of the initial ch 5 and fasten off.
Leave enough of a long tail of Black yarn to use later to connect the Squares.
Make another 8
In Black Yarn.
(Ch3 at the start does NOT count as an st)
Rnd 1: Chain 3 and work 12 dc INTO the first chain, slip to join (12)
Rnd 2: Ch2, 2dc in each st around slip to join (24)
Rnd 3: Ch2, *2dc, dc in nxt st, * Repeat around slip to join (36)
Rnd 4: Ch2, *2dc, dc in nxt 2 sts* repeat around, slip to join( 48)
Rnd 5: Ch2, * 2dc, dc in nxt 3 sts* repeat around , slip to join( 60)
Rnd 6: Ch2, *2dc, dc in nxt 4 sts around* repeat around, slip to join(72)
Rnd 7: ch2, *2dc, dc in nxt 5 sts around* repeat around, slip to join(84)
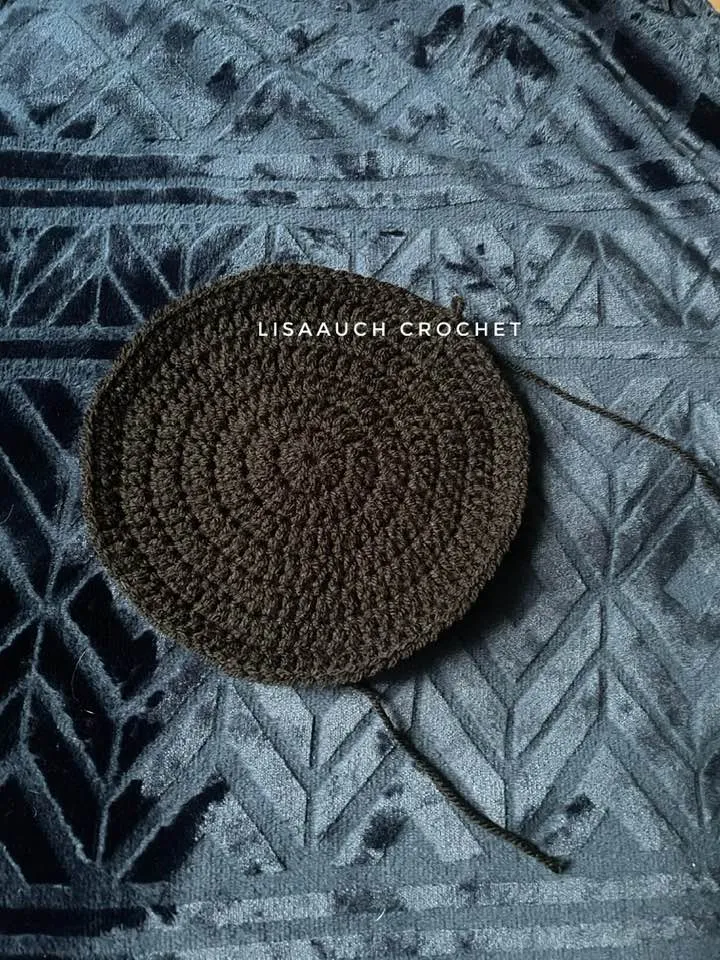
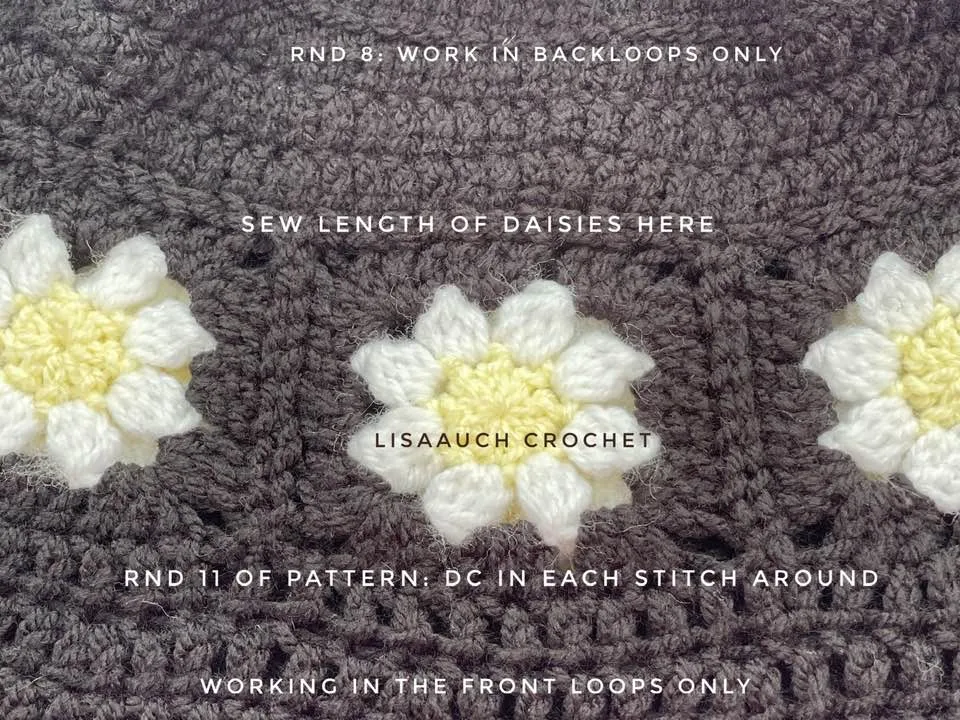
Rnd 8: Working in the BACK LOOP ONLY dc in each stitch around.
Rnd 9-Rnd 10: work dc in each stitch around.
Fasten off leaving a long tail to use to sew the daisy panel to the top of your hat.
Join Black yarn with a slip stitch to any stitch on the bottom of the square panels.
Rnd 11:
Dc Evenly in Each stitch around the BOTTOM OF THE DAISY SQUARES,
slip to join
Working in The FRONT LOOPS ONLY, repeat around, slip to join
Rnd 12: 2dc in nxt st, dc in nxt 6sts, repeat around, slip to join
Rnd 13: 2dc in nxt st, dc in nxt 7 sts, repeat around, slip to join
YOu can add on More rounds if you wish but the wearer of this hat felt it was low enough
This is the FREE Written Pattern
for
the Bucket Hat with Daisy Flower Squares around it.
by Lisa Auch Crochet
The pattern is written in US terms
Dc - Double Crochet (UK TRcrochet)
2dc- work 2 double crochet in each stitch
3dc Cluster = Yarn over, insert hook, yarn over, pull through, yarn over pull through 2 loops only. repeat 2 more times until you have 4 loops on your hook. Yarn over and pull through all 4 loops. ch 2.
4dc Cluster =Yarn Over, insert hook, Yarn over, pull through, yarn over pull through 2 loops only. repeat 3 more times until you have 5 loops on your hook. Yarn over and pull through all 5 loops. ch 2.
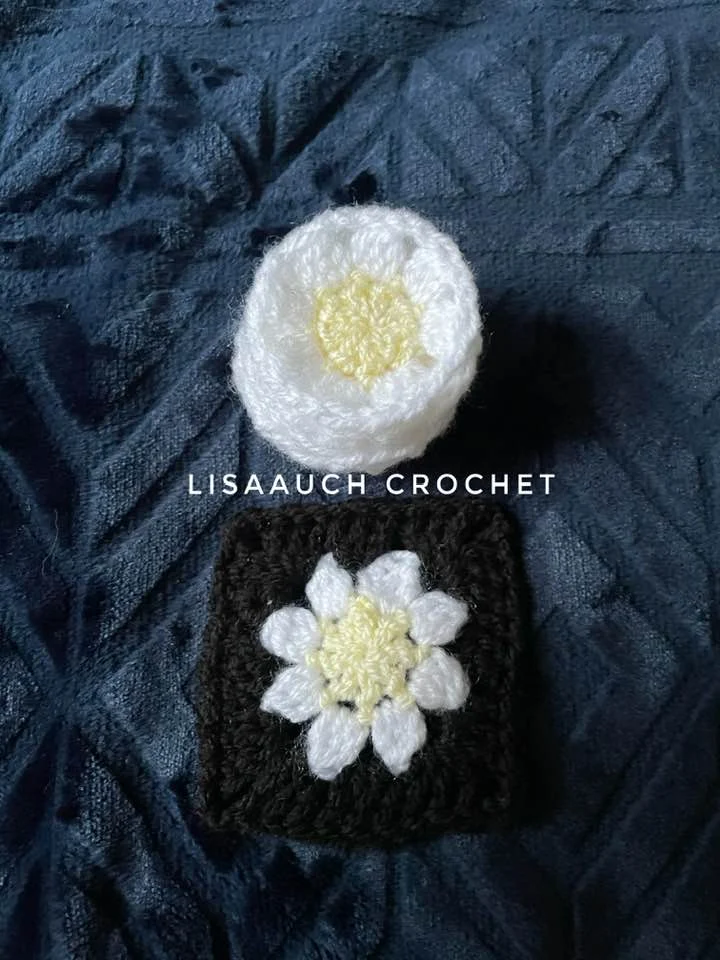
Start By making the Daisy Granny Flower Inserts (make 8)
With Yellow (center)
Chain 3.
work 8 dc into the first chain. join with a slip stitch and fasten off.
Change to White color yarn
1st daisy petal:
ch3, (the chain 3 at the beginning is counted as a dc) and 3dc crochet cluster.
(Yarn over, insert hook, yarn over, pull through,
yo pull through 2 loops only.
Repeat 2 more times until you have 4 loops on your hook.
yo and pull through all 4 loops.)
ch 2.
2nd to the 8th cluster:
(in the next stitch make a 4 dc cluster in each remaining dc stitch)
for a total of 8 petals.
ch 2.
join with a slip stitch at the top of the initial ch 3 and fasten off.
Change to BLACK color yarn and ch 5.
*Make 3 dc stitches in the next ch 2 space.
In the next ch 2 space make (3 dc, ch 2, 3 dc )
for the first full corner.*
Repeat * to * until you get back to ch5. Make 3dc, ch2, 2 dc in the space before the ch 5.
sl st to the 3rd chain of the initial ch 5 and fasten off.
Leave enough of a long tail of Black yarn to use later to connect the Squares.
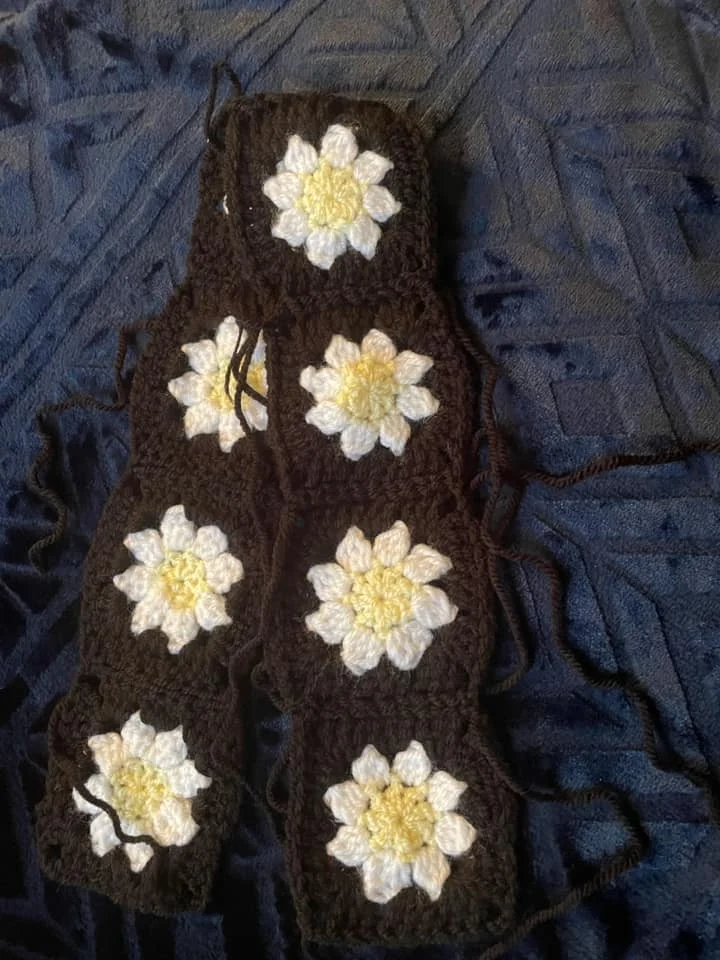
Make another 8 and once complete
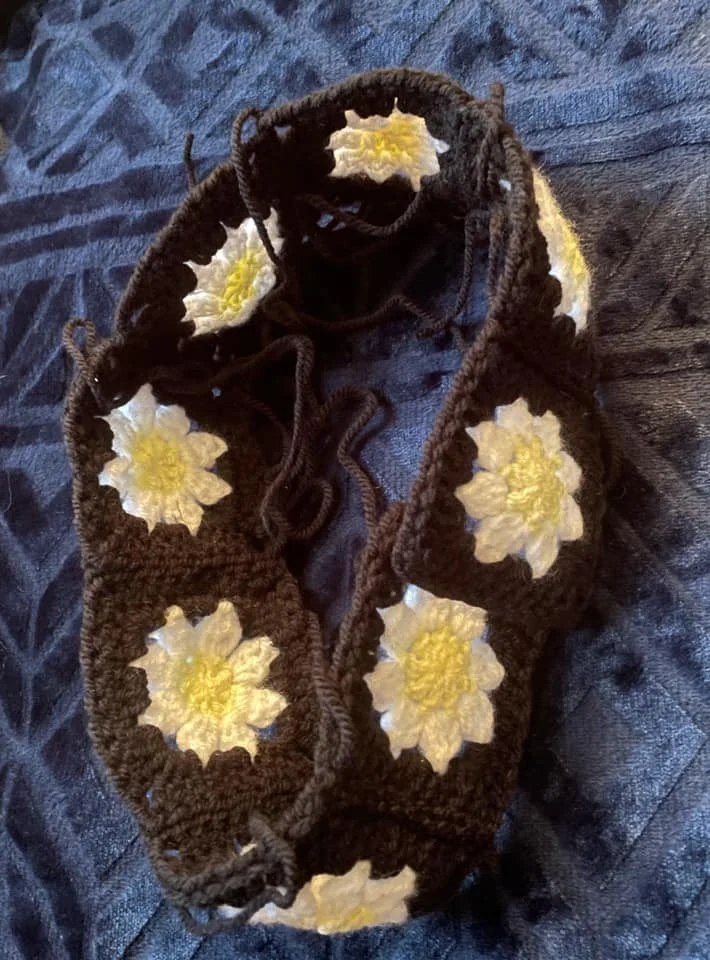
Stitch each end of the squares
together to make one long piece.
(this daisy square insert will be worked into the hat later)
(*84 sts will be worked EVENLY ALONG
the connected squares to join to the hat later)
Bucket HAT Written Crochet Pattern
(Ch3 at the start does NOT count as an st)
Rnd 1: Chain 3 and work 12 dc INTO the first chain,
slip to join (12)
Rnd 2: Ch2, 2dc in each st around slip to join (24)
Rnd 3: Ch2, *2dc, dc in nxt st, * Repeat around slip to join (36)
Rnd 4: Ch2, *2dc, dc in nxt 2 sts* repeat around,
slip to join( 48)
Rnd 5: Ch2, * 2dc, dc in nxt 3 sts* repeat around,
slip to join( 60)
Rnd 6: Ch2, *2dc, dc in nxt 4 sts around* repeat around, slip to join(72)
Rnd 7: ch2, *2dc, dc in nxt 5 sts around* repeat around, slip to join(84)
Rnd 8: Working in the BACK LOOP ONLY dc in each stitch around.
Rnd 9 to Rnd 10: work dc in each stitch around.
Fasten off leaving a long tail to use to sew the daisy panel to the top of your hat.
Pin the Daisy chain insert to the hat along with the stitches of round 10.
YOU WILL be short of a few stitches,
so it is VERY IMPORTANT to evenly place and PIN the daisy chain around the HAT
I prefer to sew this together to ensure I have a neat join.
Join Black yarn with a slip stitch to any stitch on the bottom of the square panels.
Rnd 11: Dc in Each stitch around (84st) , repeat around, slip to join
Working in The FRONT LOOPS ONLY, repeat around, slip to join
Rnd 12: 2dc in nxt st, dc in nxt 6sts, repeat around, slip to join
Rnd 13: 2dc in nxt st, dc in nxt 7 sts, repeat around, slip to join
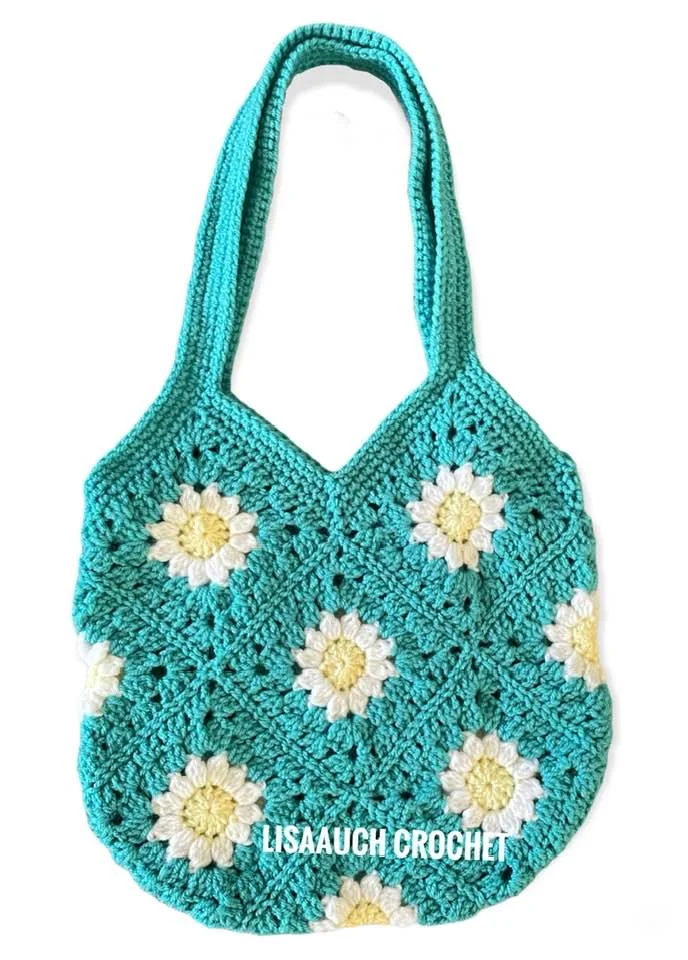
See the Full Daisy Flower Granny Square Crochet Bag Pattern HERE
It helps me to maintain the website and buy new materials to make even more FREE PATTERNS.
As always you are free to make and sell items you have made from the pattern
However you must NOT copy or distribute the pattern online TEXT OR PDF,
in part or whole anywhere else,
or by creating an online video of my pattern.
Without my express written permission.
You can share a picture of the finished item. With a link BACK to this page.
You must NOT use my pictures in any way to sell a finished product.
You must use your own.
You will NOT put this PATTERN (whole or in part) on to ANY other SITE online.
Without my express written permission.
This pattern may contain affiliate links.
Where I may make a small commission from your purchase at no extra cost to you
Happy Hooking (c) All Rights Reserved LisaAuch.com


