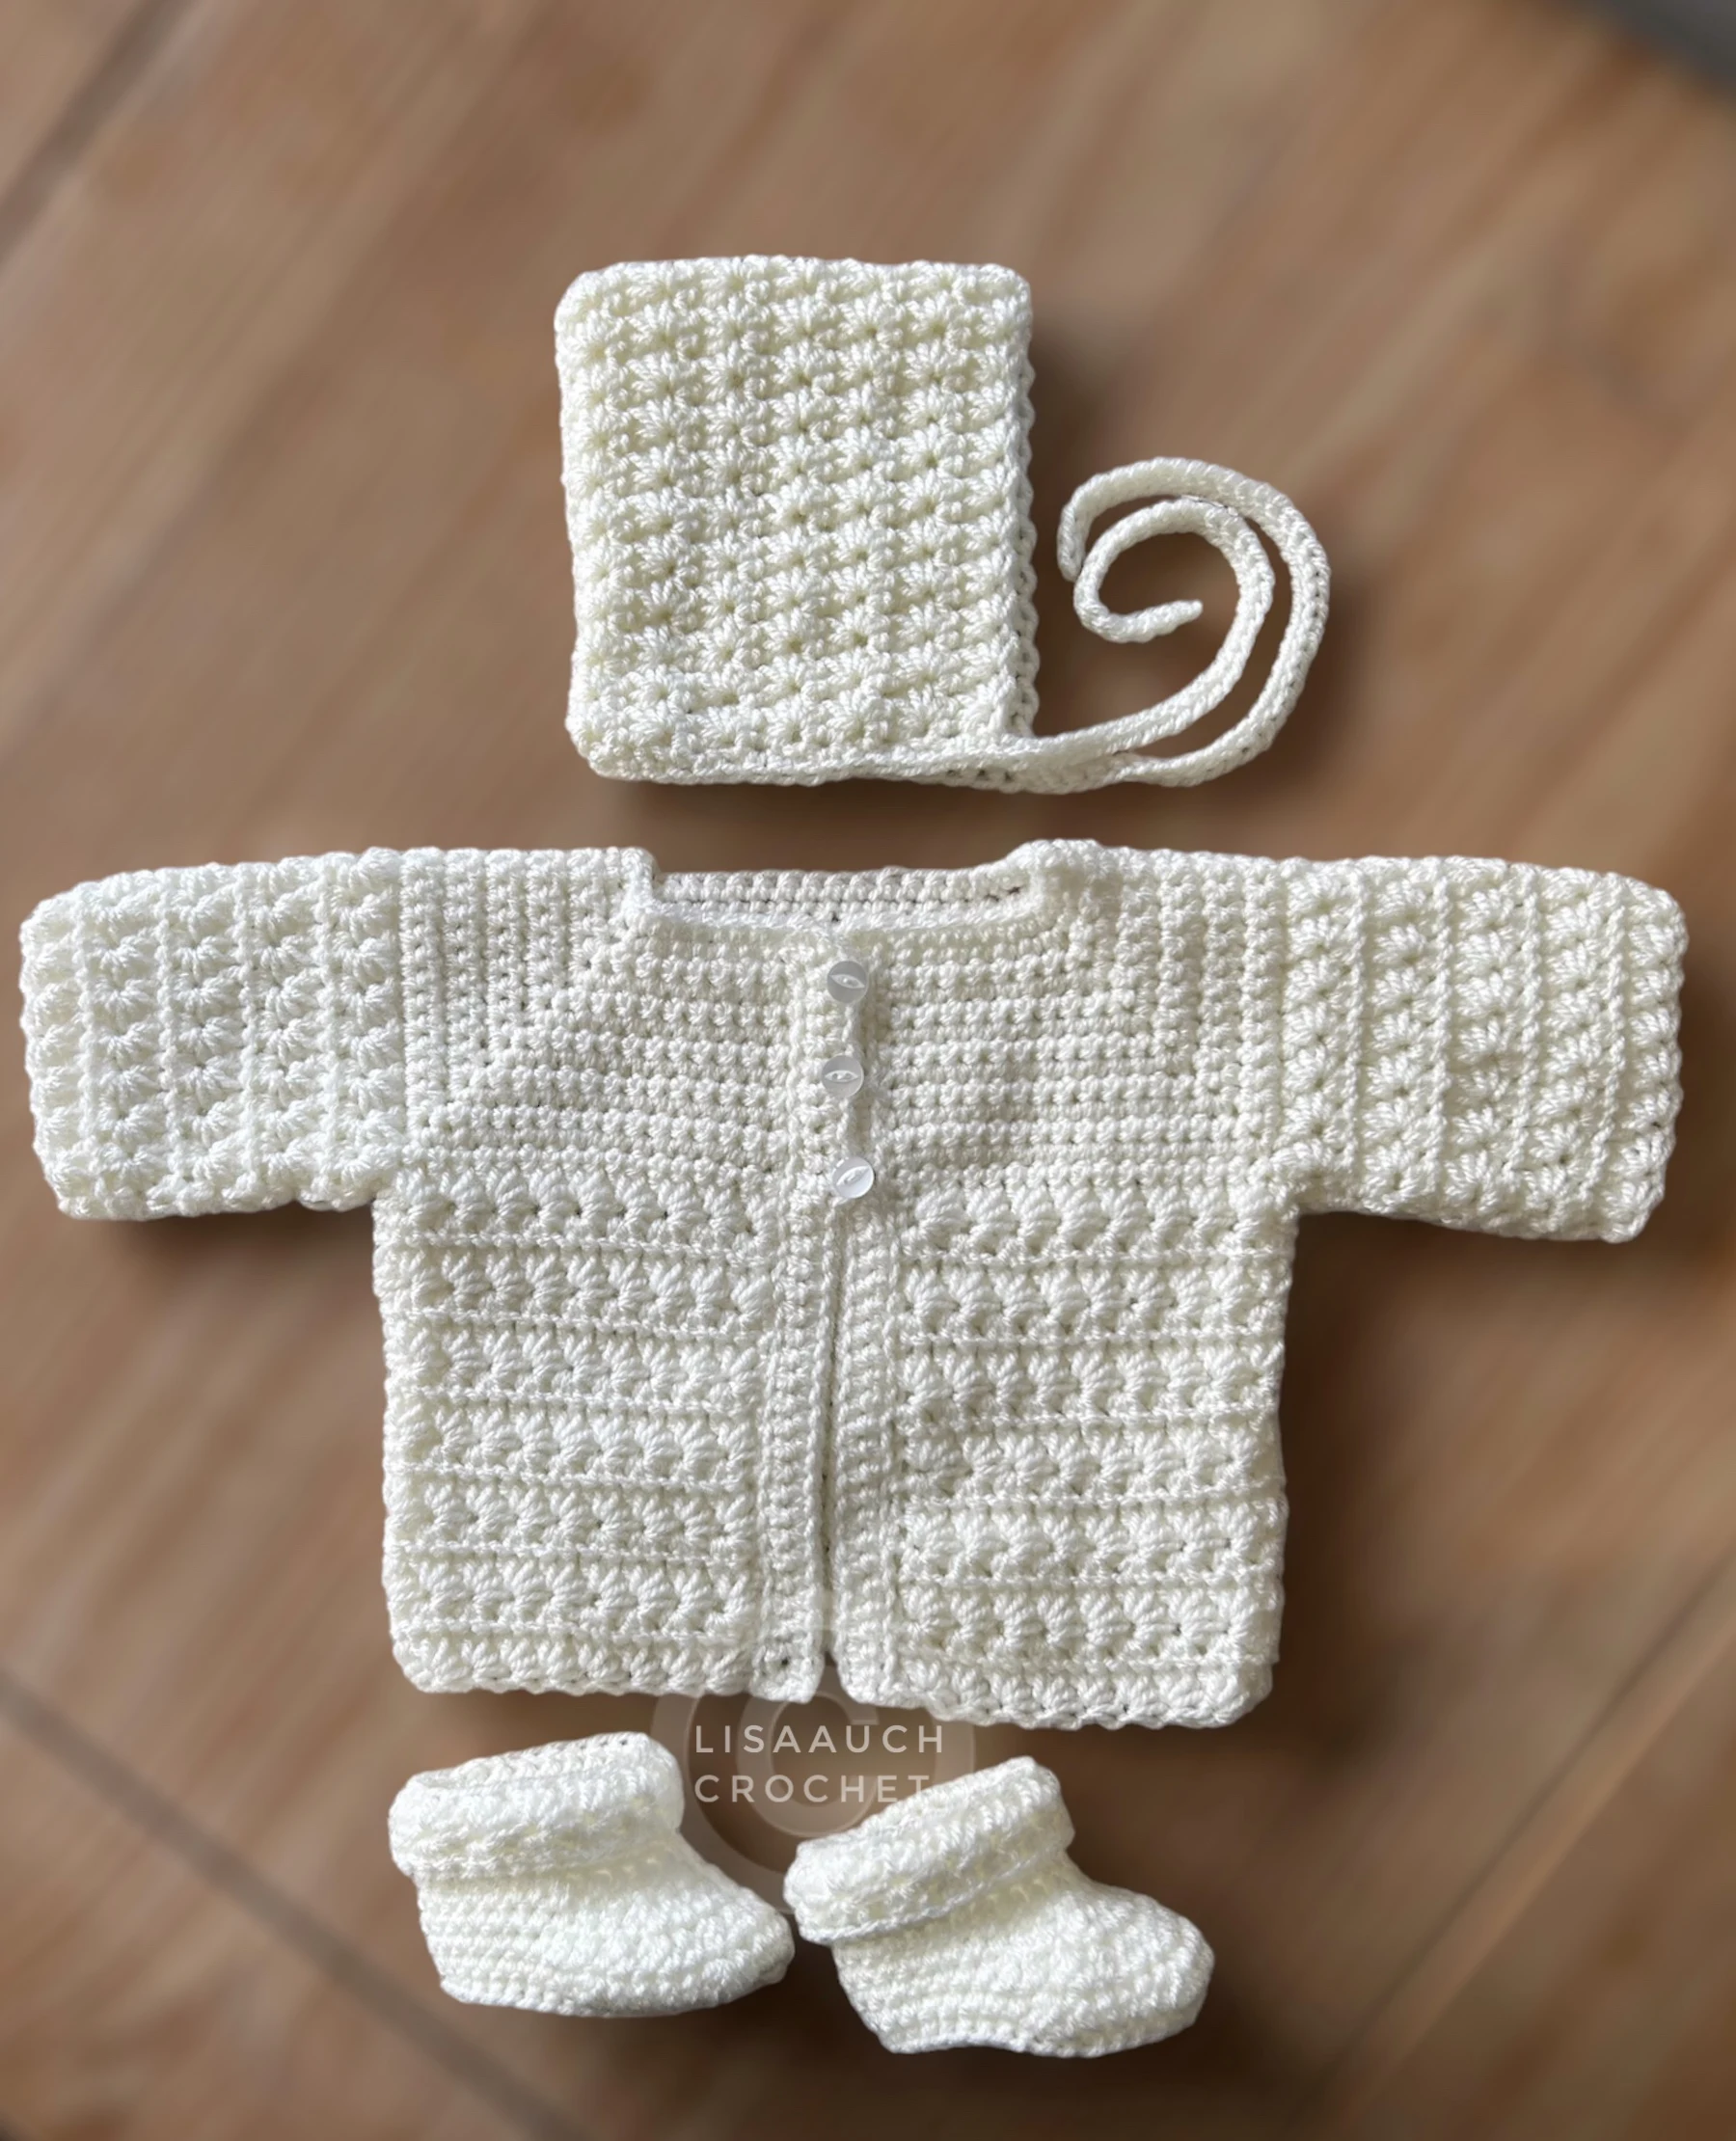
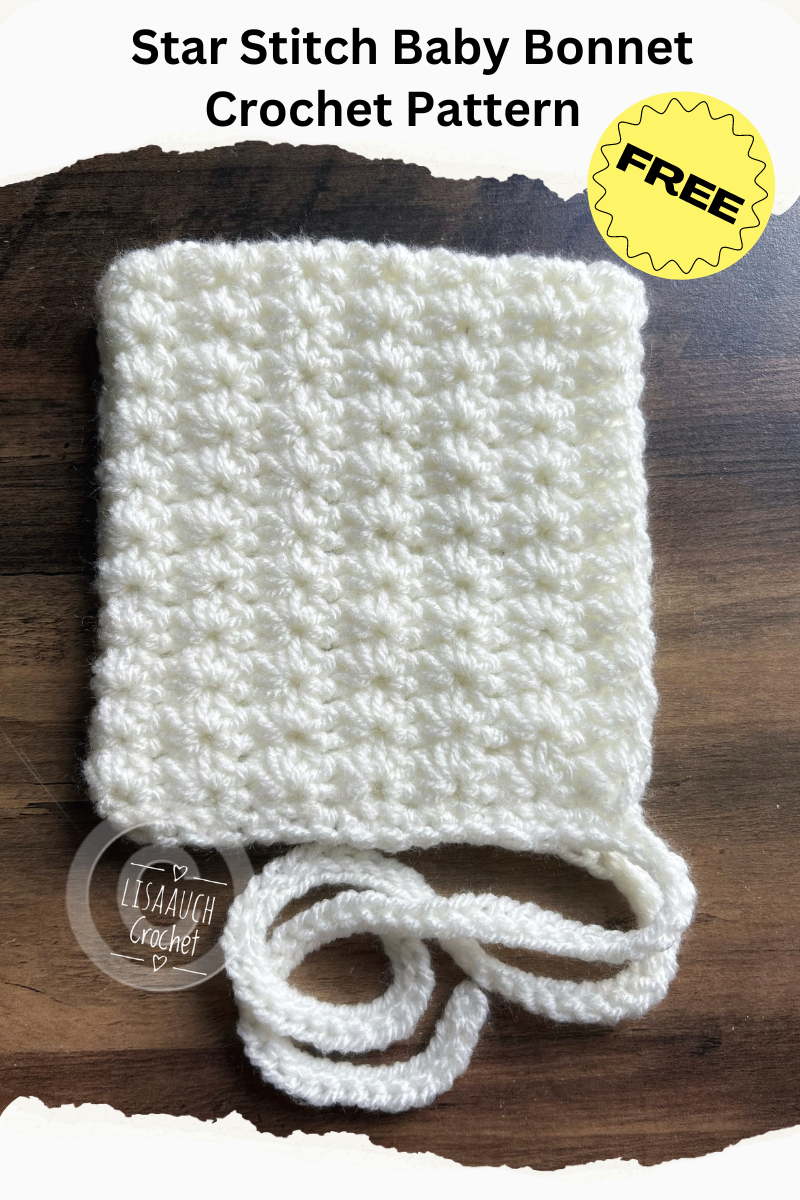
A free baby bonnet Crochet Pattern. for a Newborn Baby. You all know I love Baby bonnets, and I am in love with the Little Star Stitch Baby Bonnet.
 |
The bonnet matches the A Star is Born Baby Cardigan, which is also a free crochet pattern on my website. The booties were made following Oliver Baby Booties pattern which you can find HERE. However, note instead of a Ribbed cuff I finished with a few rounds of Hdc and then worked a complete 2 ROWS of the Star Pattern.
The FREE Patterns Can all be found on my website
Booties - (I changed the Ribbed cuff with a few rounds of HDC and 2 rows of a star sttich pattern
Baby Cardigan Crochet Pattern
The star stitch may look complicated but it is actually very easy and once you are in the swing of it it works up quickly, it gives a lovely cushiony textured stitch, and of course, looks so pretty.
The star stitch can be known as the Marguerite stitch too.
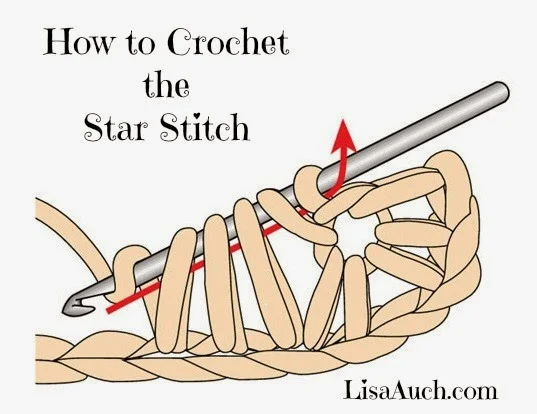
How to crochet the star stitch
Make a chain.
Insert hook in first stitch of chain. Draw a loop through each of the first 5 stitches of chain.
You should have six loops on your hook. Yarn over the hook and draw it through all six loops on the hook, close the cluster by chaining 1.
I like to think of the star stitch as a stitch that has 7 movements to complete 1 whole star including the ch1 to close
Many older and vintage patterns using the star stitch call for the yarn to be cut at the end of each row and start at the same side every row. But by making the second row of 2 single crochet in the EYE of the previous rows of stars, means we can work in neat rows. And less ends to weave in.
What you will need to crochet the bonnet - Materials Required
For the pink Bonnet in the picture, I used a 5.00mm hook
Patons Aran
And for the Cream one I Ised a 4.50 hook and Aran weight yarn
Abbreviations used Terms are all written in the US.
To make this bonnet bigger sizes (measure the length of a child from the Top of the head to the middle of the bottom of the ear to the middle of the under the chin! I have included a handy size chart for reference, ensure you have an even number on your chain.
Average measurements are given below. Double The Bonnet Height top to bottom measurement
Head Circumference | Bonnet Depth | Bonnet Height
(Front to Back) Top to Bottom
(chain length to start)
Newborn 13"-14" 5" 5.25" x 2 = 10.5 inches
0-3 months 14"-15" 5.25" 5.75" x2 = 11.5 inches
3-6 months 15"-16" 5.75" 6.25" x2 = 12.5 inches
6-9 months 16"-17" 6.25" 6.75" x2 = 13.5 inches
1-2 yrs 18"- 19" 7" 7.25" x2 = 14.5 inches
The Pattern for the Crochet Star os Born Baby Bonnet in Star Stitch
Ch 50 (leaving a length of yarn long enough to sew this seam together later)Row 1: Skip 1 ch and draw up a loop in each of the next 5 ch, YO, and draw through the 6 loops on hook, ch 1. to Close the Stitch (this is now known as the EYE of the Stitch)
* insert hook into the EYE of the previous stitch, Draw a loop through the eye formed by the ch just made, and draw a loop through the front-facing st of the last loop of the star just made, draw a loop through the same ch where last loop of the previous star was made, draw a loop through each of next 2 ch, YO and draw through the 6 loops on hook, ch 1. Repeat from * On the LAST stitch of the ROW, do NOT ch1 to make the EYE instated work an HDC into the LAST, stpace Turn.
Row 2: Ch 1, 2sc in the first EYE, 2 sc in the eye of each star across, end with 1 sc in top of turning ch. Turn.
Row 3: Ch 3, draw a loop through the 2nd, and 3rd ch from the hook, draw a loop through st at the base of ch , draw a loop through each of the next sc, YO, and draw through the 6 loops on hook, ch 1. * Draw a loop through the eye formed by the ch just made, draw a loop through back of last loop of star just made, draw a loop through same sc where the last loop of previous star was made, draw a loop through each of next 2 sc, YO and draw through the 6 loops on hook, ch 1. Repeat from * to end of the row, 1 hdc in the last ch. Turn.
Repeat Row 2 and Row 3 for 13 more rows, (NEWBORN) (OR UNTIL BONNET DEPTH IS ACHIEVED)
Make sure you FINISH on Row 3 for a decorative edge to your bonnet. DO NOT fasten off. Continue to TIES
To finish BONNET and TIESWeave in all ends to finish. Remember to SAVE this FREE Bonnet Pattern to Pinterest


