A FREE amigurumi teddy bear crochet pattern.
This little amigurumi tiny crochet bear pattern is easy to crochet making him the perfect crochet project to make for your Valentine's or indeed to give as a crochet gift Any time of the year.
I loved making him and after posting him online you asked if there was a pattern so I quickly jotted down the pattern so I could share with you.
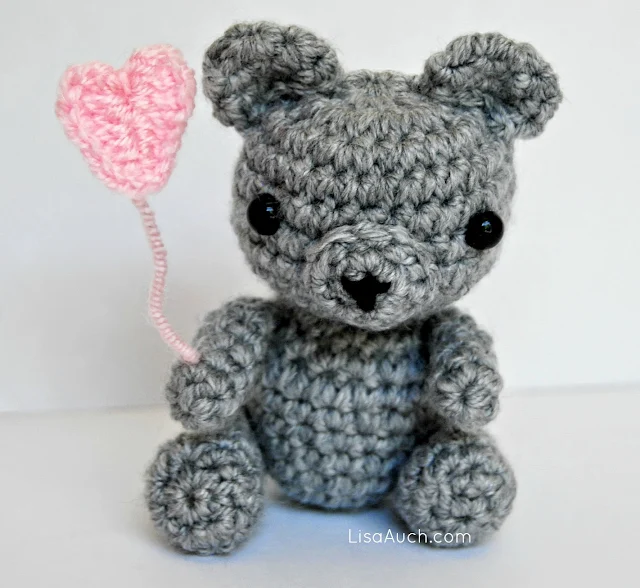
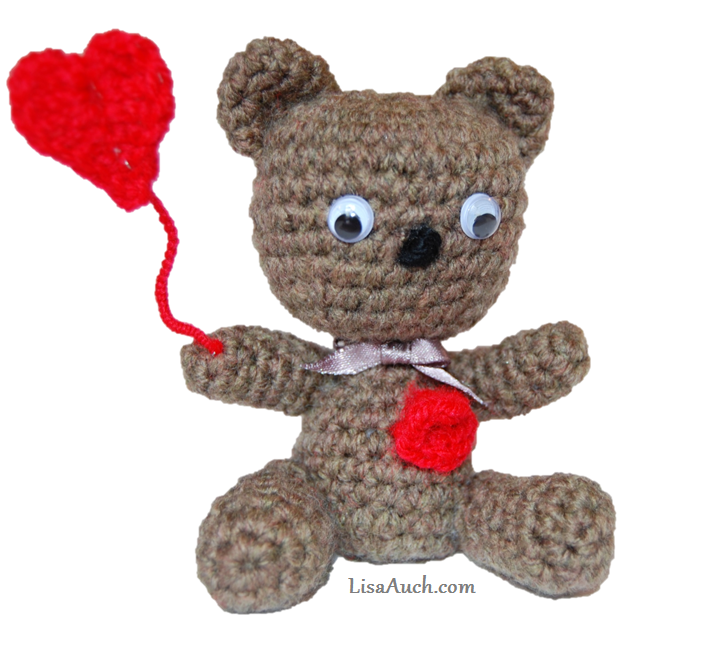
Baby Bear Heart is what I eventually called this little creation who stands just 4 inches tall!
I also have a small teddy plushie crochet pattern. This one is a little larger and is super cute too.
The Crochet Teddy Plushie is a FREE crochet TOY pattern on my website HERE
You could crochet the small teddy bear even smaller if you use thinner yarn and a smaller hook, making him perfect for making a keychain charm.
Amigurumi Patterns are a technical term usually reserved for making toys.
Working with yarn in this way is fun, and you can become very creative, but it can be tricky, so you should be confident working with tight stitches and in small rounds.
I also suggest learning magic circles and invisible decreasing. But these are NOT necessities to crochet this teddy.
If you are looking for a simpler BASIC Crochet Teddy Bear Pattern
You can see my popular beginner friendly teddy bear pattern HERE
I made the one in the main picture (GREY) above for a friend who wanted to tell their hubby they were expecting a little girl, and asked me to crochet a small grey teddy with a pink floating heart!
He turned out so cute. The Original small crochet Teddy was made to look like Mr Beans Teddy!
I will be making a whole load of these make and sell for the craft fairs I bet they would go like hotcakes. or turned into keyrings!
This is a fab yarn stash-busting project, and you could change the color for his middle bit or even stripes!
Tiny Teddy is a really quick crochet project to make too. And you can crochet him up quickly as a last-minute gift.
Materials
I used a 2.50mm crochet hook. but if you're struggling using the smaller hook
USE a 3.50mm crochet hook
you will be working in single crochet stitch
2 eyes (If making for a child then remember to use embroidered eyes)
tapestry needle
filling/ stuffing
If you want to make the little heart on a string you will need some red yarn and thin wire.
NOTES:
If you are comfortable working in amigurumi style I suggest you use the YARN UNDER method. (instead of yarn over, simply yarn under when you would normally yarn OVER the hook.
* Working yarn under makes the stitching closer together and hides the ugly holes when decreasing.
In your preferred color in double-knit yarn
sc - single crochet stitch
2sctog -work 2 single crochet together to decrease.
2sc= increase by 1 by working 2 stitches into the same stitch (make an invisable decrease work the 2 stitches in the front loops only and single crochet together)
Do not slip to join we will be working in a spiral if it makes it easier I use a stitch marker to help me keep track of the beginning and end of rounds.
You do not need to know how to make a magic circle/magic loop to make this crocheted toy.
*An alternative to working a magic circle is to chain 2 and sc the number of stitches into the first chain created.)
You can also make the ARMS and legs FIRST and join them as you go!
FREE Crochet Teddy Bear Pattern Starts HERE
Arms (Make 2)
Rnd 1: work 6 sc into a magic circle, (6)
Rnd2: sc in each stitch around. (6)
Rnd3-Rnd 7: sc around.
Fasten off leaving a long tail for attaching the arm to the body later,
Legs (Make 2)
Rnd1: work 6 sc into the magic circle, (6) (OR chain 2 and work ALL into the first chain)
Rnd2: 2sc in each stitch around (12)
Rnd3:- Rnd 5: sc around
Rnd 6: sc2tog, sc around (11)
Rnd 7: sc2tog sc around (10)
Rnd 8: sc2tog, sc around (9)
Rnd 9: sc2tog, sc around (8) Fasten off leaving a long length of yarn for attaching
Body
Rnd 1: work 5 sc into a magic circle (5) (OR chain 2 and work ALL into the first chain )
Rnd12: {sc 2tog } around. Fasten off leaving a long length of yarn for attaching
Rnd2:{ 2sc}, in each stitch around (10)
Rnd 3: {2sc, sc } around (15)
Rnd 4: {2sc, sc 2} around (20)
Rnd 5-Rnd 9: sc around,
Rnd 10: {sc2tog, sc 5} around,
Rnd 11: {sc2tog, sc 4} around, Stuff body at this stage)
Head
Rnd 1: Work 10sc, into a magic circle. (OR chain 2 and work ALL into the first chain )Ears. (Make 2)
Rnd 1: 6sc in magic circle,
Rnd 2: 2sc in each stitch around (12)
Rnd 3: sc in each stitch around (12)
fasten off and stitch the 2 ends together to make a semi-circle.
I usually pull slightly and gather this part to help create a shaped ear.
Leave a long tail and leave it to the side, for when you are ready to position the ears and sew to head.
Position the legs to the side base of the body, secure them with pins, and sew them together.
Sew Eyes and create a little button nose with blank yarn.
or
Position arms to sides, just below the neck.
Sew head to Body.
Sew Ears into place.
Nose/ Muzzle:
Rnd 1: Ch 6
Rnd 2: 2sc around
Rnd 3: sc around.
Fasten off. And sew into position on face.
For the Floating SMALL heart Balloon
Using Red Yarn and the 2.500mm hookChain 5, 3dc in 3rd chain from hook, 3 hdc, in next stitch, chain 1, (do not turn work along the back on row just worked hdc), sc, 3 hdc, 3 dc in last stitch, chain 2, slip stitch into the middle of the ring created. Fasten off. and pull the middle tight
For the tiny heart on Teddy's chest.
sc 6 in a circle and finish off when sewing onto a teddy shaped into a heart.
We would love to see your finished projects so remember to tag me #LisaAuchCrochet if you post online
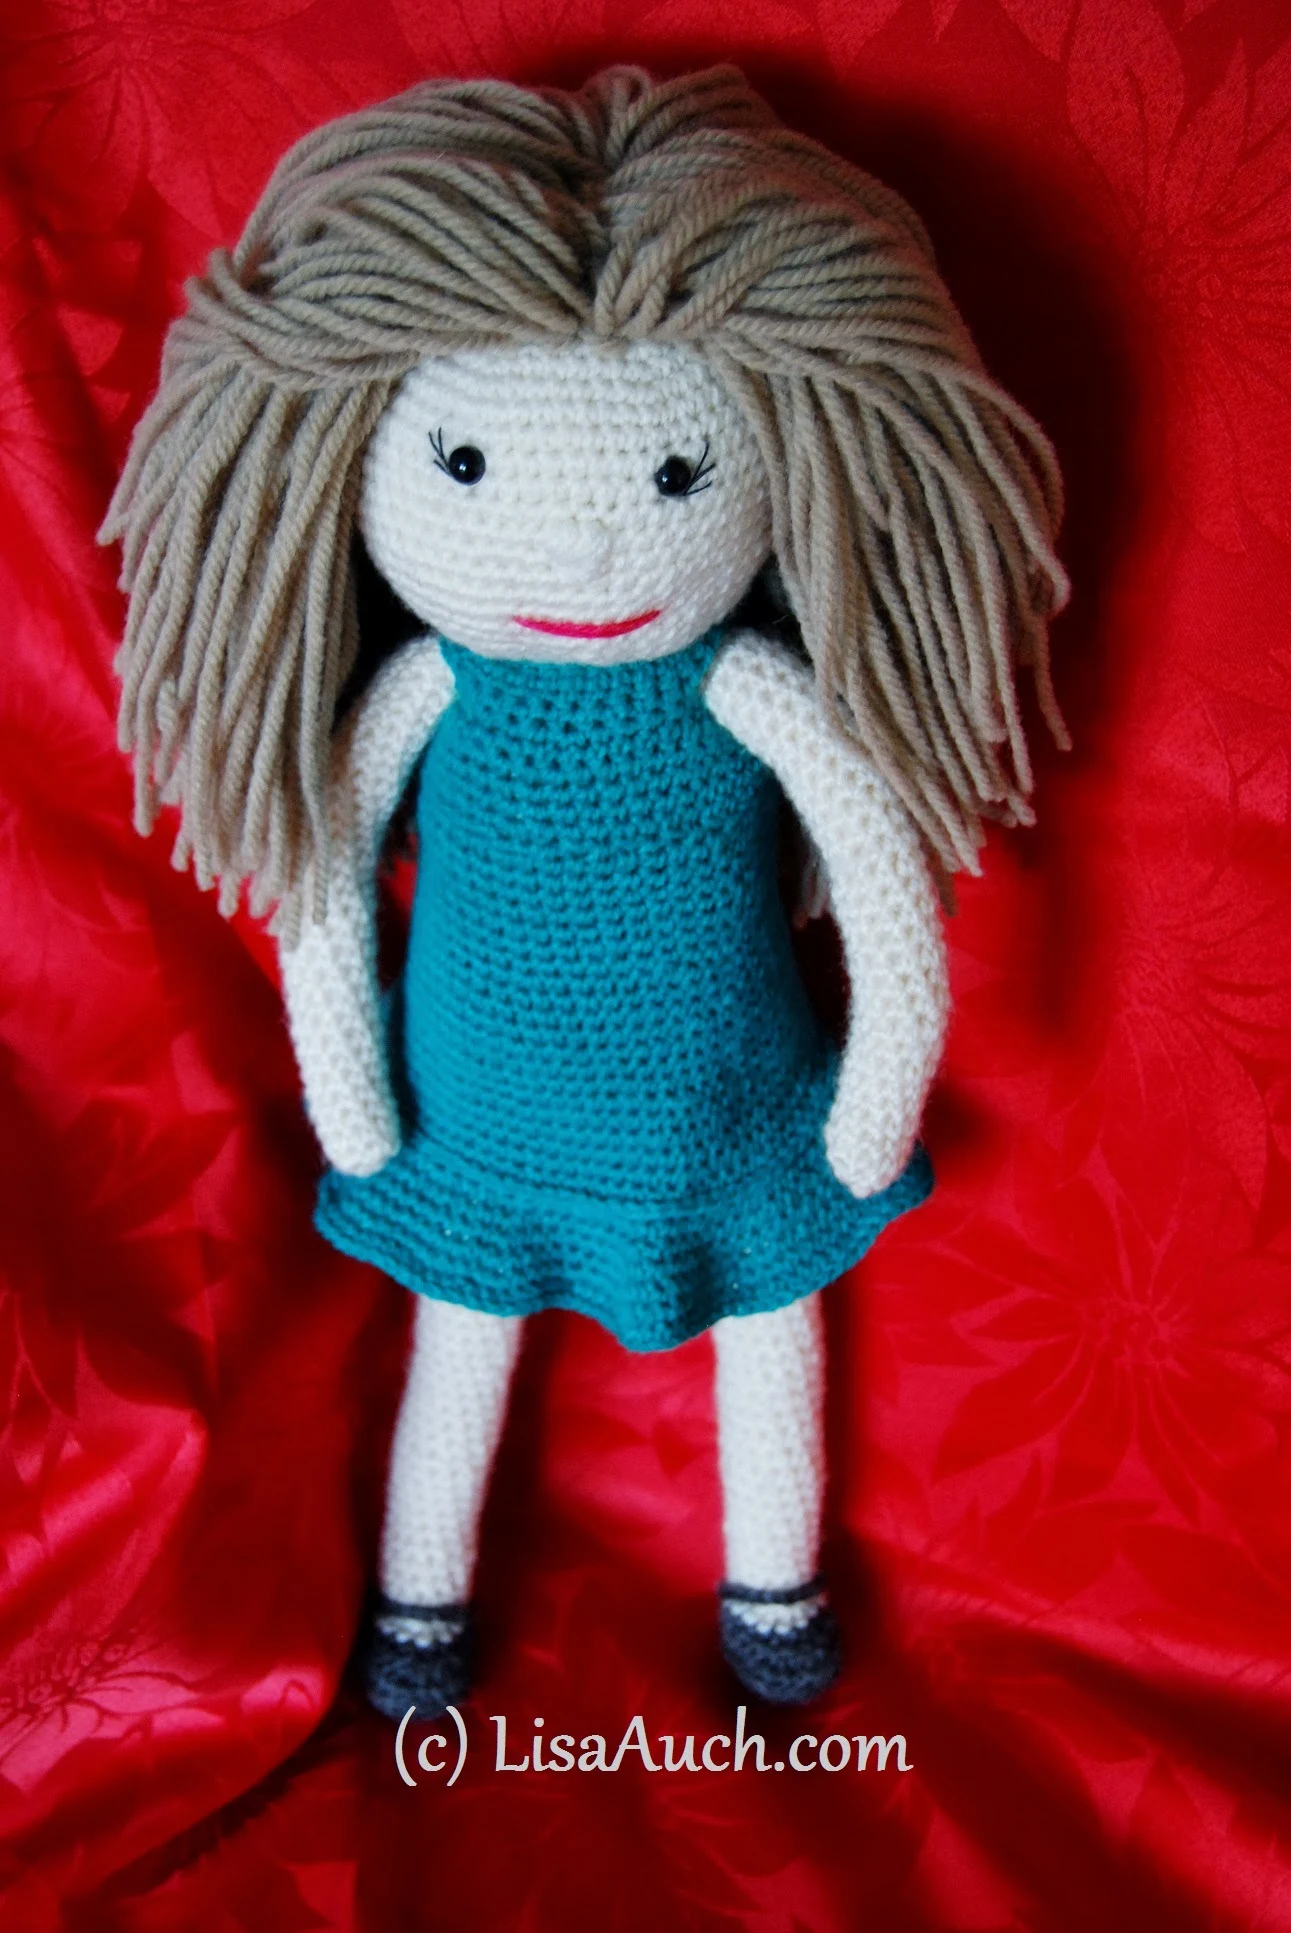
I love crocheting dolls, I have collected my favorite go-to best crochet doll patterns and how-to-crochet doll tutorials on this page here
Thank you for visiting my website or purchasing a pattern. You will not crop or heavily EDIT the images belonging to LisaAuch Crochet/ Lisaauch.com, nor add any further TEXT or Imaging to them.
READ FULL TERMS of COPYRIGHT & USE BEOW
*This pattern may contain affiliate links.*
Where I may make a small commission from your purchase at no extra cost to you
Happy Hooking (c) All Rights Reserved LisaAuch.com


