A Crochet Bird Tutorial by LisaAuch
When a dear friend of mine from Winged Friends asked me If I had or knew of where she could find crochet bird patterns, little did I know what journey I would go on. I searched high and low for a general bird pattern, after several attempts at some patterns I decided there was indeed a need for me to create my very own bird crochet pattern.
The pattern is very flexible and I have used different yarns and hook sizes 2.50mm-3.05mm UK /
C or D US, each giving an excellent finish. Just remember not to use too large aThe pattern is very flexible and I have used different yarns and hook sizes 2.50mm-3.05mm UK /
hook or you will end up with holes and see the stuffing through your stitches.
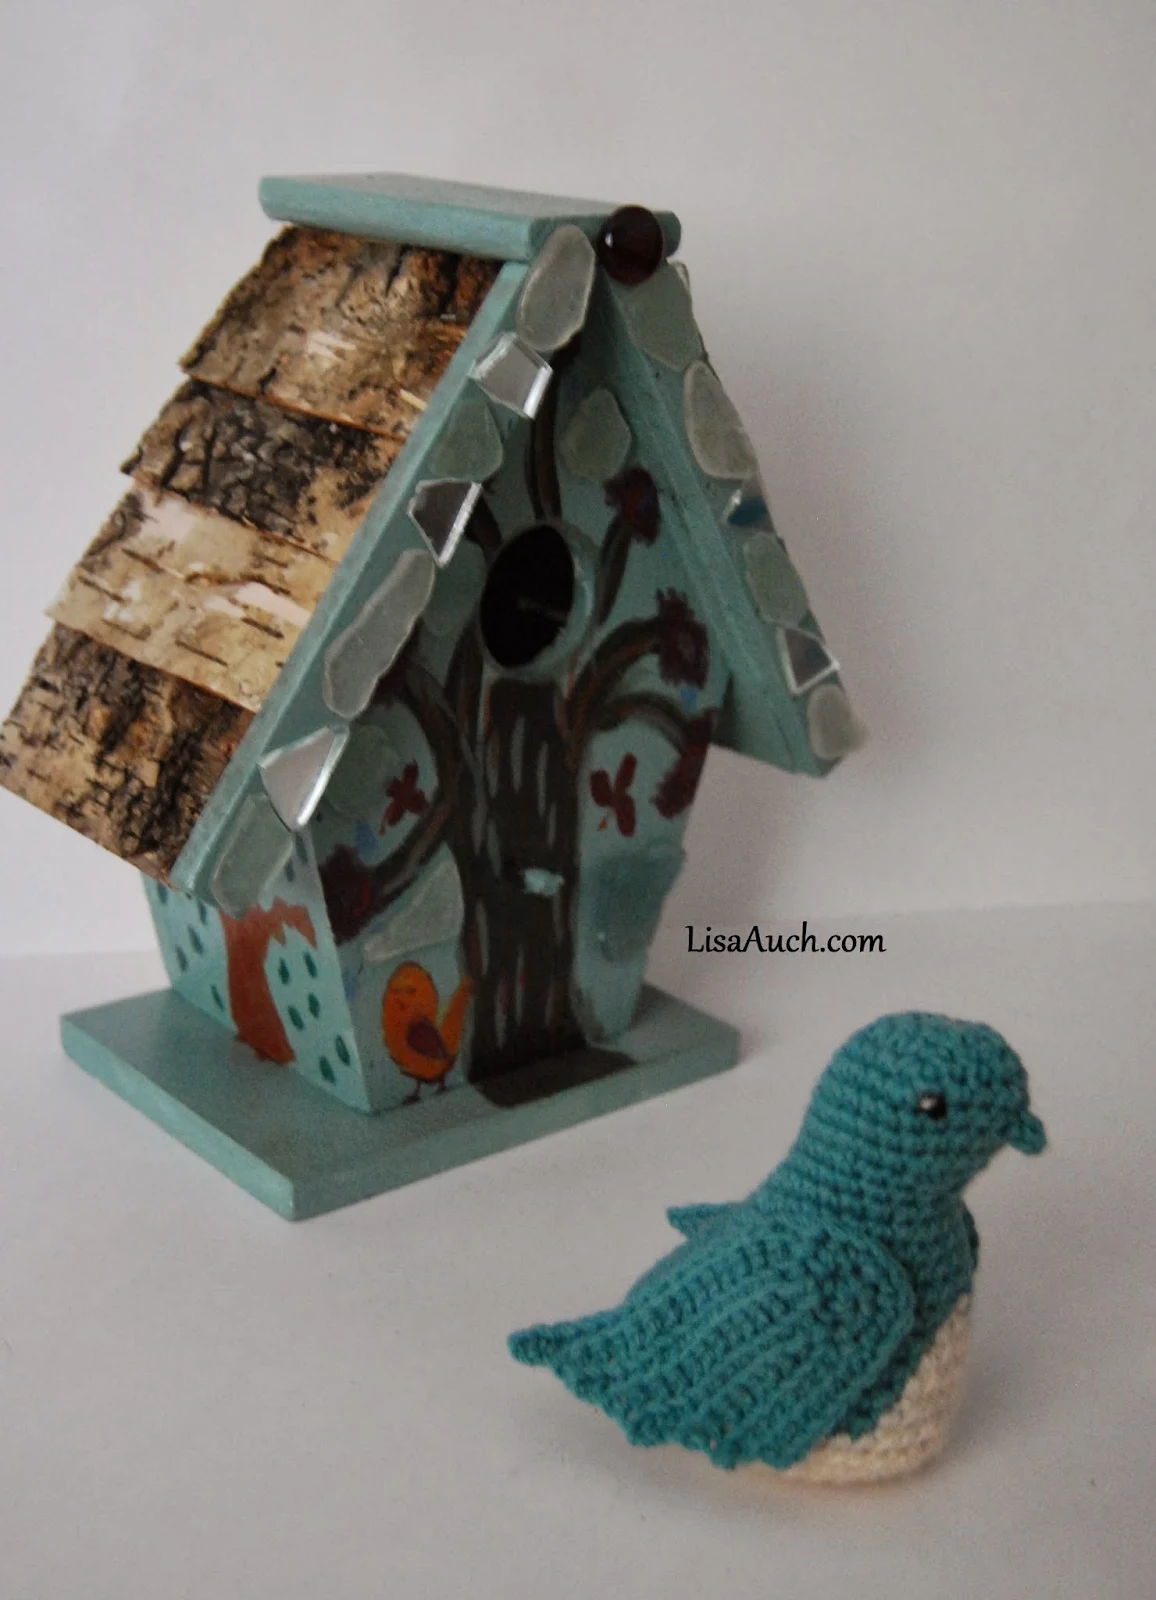
have now made this in several sizes, the one shown in the picture (just above) was made using a 3.50mm hook and actually stands with feet attached just under 8 inches. Using Double knit yarn.
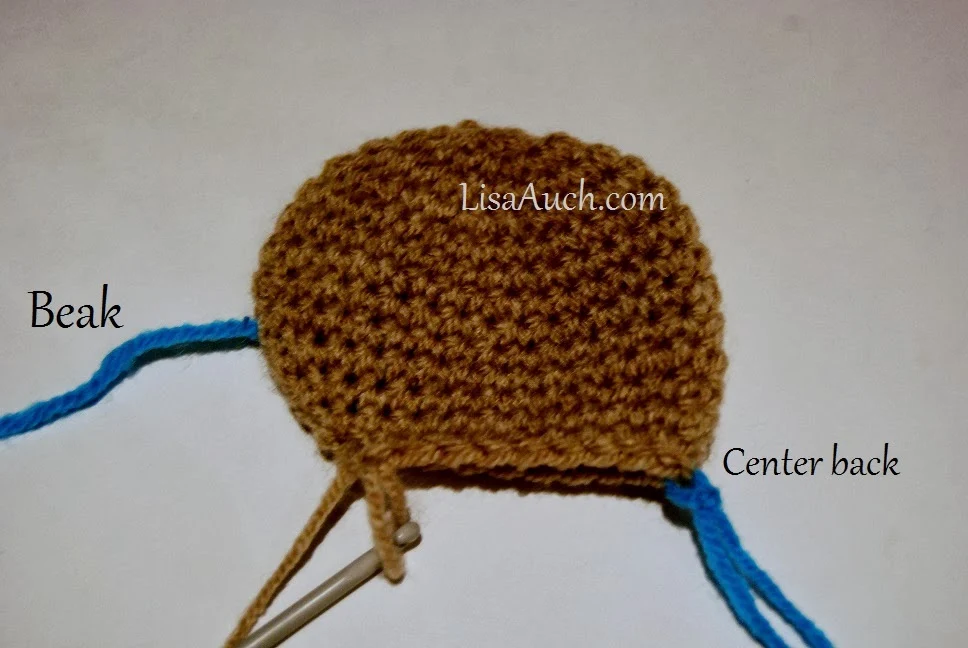
Although I prefered the blue bird I made using a 2.50mm hook, but wanted to show you the stitches and detail a little better whilst I made this, so you can follow the stitches easier. Please note there is NO colour change in this pattern, I improvised and guessed.
How to Crochet a Bird and what you need to get started.
My favourite hook was a 2.50mm and DK yarn (worsted)
Some type of stitch marker,
Soft Toy stuffing,
safety eyes or eyes of your choosing.
SC= single crochet
sc2tog (SC decrease) = Insert hook into st and draw up a loop. Insert hook into next st and draw up a loop. Yarn over, draw through all 3 loops on hook.
sl st (slip stitch to join)
Work in continuous rounds for the head and body.
Crochet Bird Pattern
HEAD AND BODY Begin at top of head.
ch 3.
Rnd 1: Work 8 SC in first Ch. Place marker in first st for beg of round (8)
Important! move marker up as each round is completed.
 Rnd 2: Work 2 SC in each SC, rep from * around (16)
Rnd3: *2 SC in next st, SC in next st, rep from * around (24)
Rnd4: *2 SC in next st, SC in each of next 2 sts, rep from * around (32)
Rnds5-9: SC around
Rnd10: SC, 2sctog, SC to last 2 stitches 2sctog (30) (leave a coloured marker here for Beak position)
Rnd11: SC, 2sctog, SC to last 2 stitches 2sctog. (28)
Rnd 12: SC, 2sctog, SC to last 2 stitches 2sctog. (26)
Rnd13: 2sctog (3 times) , SC to last 6 stitches 2sctog 3 times. (20 sts)
Bird Body
 (At this point fold the head in half and place an extra marker where the back of birds neck should be This is where we will make the increases for the birds back.
 Rnd14: SC around 2sc in 10th and 11th stitch, SC to end (22)
Rnd15: SC, 2sc in 11th st, SC, 2sc in 13th st, sc to end (24)
Rnds 16- sc,2sc in 12th st, sc,sc, 2sc in 15th st of rnd, sc to end (26)
Rnd 17 -Rnd 29 continue working in now established pattern, ie sc around, 2sc in 13th st of rnd,, sc, sc, sc, 2 sc in 17th st, sc to .....(28)
Note: If you are becoming confused. just make sure you increase in each previous rounds increaces, and SC the stitches in-between the increases - continue working in rounds like this until you have
52 sts you have created a large V shaped pattern down the birds back)
Fold in half again- and mark at front)
Rnd 30: work in Back loops along the 16 stitches within the V( for the tail later.)
and work SC around to the last 4 stitches BEFORE placed newly front marker
(STUFF Bird now, you will find you can become quite creative with the shape when stuffing)
Start Rnd 31: sc2tog 4 times, {SC for 4, sc2tog, } around, continue in this manner until 10 stitches left. 2dctog in each stitch around to finish.
How to crochet Birds Wings
You will make 2 wings, slightly different from each other.
First Wing
Rnd 1: Chain 3, SC for 8 in first chain from hook. (or work 8 SC in magic circle)
From now on Work in ROWS: Ch 13, work 1 SC in 2nd ch from hook and in each chain (11).
(working in rows now)*Slip stitch into next SC on round 1. ch1, turn.
SC in back loop only of next 11sc, ch 3, turn, working into the 2nd chain from hook work
SC in back loops of previous row.
Repeat from * around for 4 ROWS: (remember to add the extra ch3 at the end of each row).
End with sl st in round 1, (you are increasing 2 stitches at the end of each wing)
Slip stitch into next available SC on Rnd 1
WORK 2sc in each stitch AROUND the rest of the unworked stitches from RND 1: (this creates the shoulder of wing)
SC along the bottom to last 2 stitches finish off.
Second Wing
Rnd 1: Chain 3, SC for 8 in first chain from hook. (or work 8 SC in magic circle)
From now on Work in ROWS: NOTE: you will miss working the last 2 stitches of each row for this wing) ROW 1: ch18, SC in back loops until last 2 stitches, ch1 turn.
ROW 2: SC to last stitch sl st to next available stitch from Rnd 1, ch 1, turn,
Row3: SC in until last 2 stitches, ch1 turn.
Row4: SC to last stitch sl st to next available stitch from rnd 1, ch 1, turn,
row 5: slip along 2 stitches, ch 1, SC in back loops Slip stitch into next available SC on Rnd 1
WORK 2sc in each stitch AROUND the rest of the unworked stitches from RND 1: (this creates the shoulder of wing)
SC along the bottom to last SC, 2 single crochet foundation chain. finish off.
(NOTE: If you do not know how to Single crochet foundation chain - You can also finish off by working 3 ch, turn single crochet back towards the last stitch. Finish off by slip to join....fasten off)
Birds beak
Chain 6, slip to join, fasten off, Stitch into place for the birds beak.
Tail: Optional
Attach yarn to the first back loop we created in Rnd 30:
Row1: Dc along row picking up and working into the back loops, ch1, turn.
Work picot stitch back along the row just worked of {Ch3, slip to join to next stitch } repeat to end.
 |
| Source: wikimedia: Public Domain |
Creating Eyes
You can attach eyes or I like to use the French knot with black yarn see pic right.
Birds Feet.
I used 3 lengths of thin wire and twisted them around and inserted into the bottom of the bird, I then separated the 3 wires to stabilise the bird so it could stand. I wrapped in brown yarn to finish and hide the wire.
 I think the possibilities for the bird crochet pattern is limitless. You could color change and easily make this crochet bird look like your favourite Winged friend.
Special thanks to Winged-friends.com who inspired me to create this little bird, and help support her fabulous work and I am forever grateful to learning more about my little garden visitors. With her wonderful informative website.
We would love to see your finished Crochet Birds Please find us over on Face book and share your photo with Free Crochet Patterns and Designs on Facebook


