Easy FREE Crochet Cardigan with hood perfect crochet sweater for baby boys.
 |
(This one was made by substituting the HDC for a crossed double crochet, single crochet alternate rows as the height of 2 rows is the same as 2 HDC rows)
If you WANT to make the GREY Hooded TOP visit an achieved version here |
Suggested Yarn Weight: Aran (4 3/4, 5) Ounces
This is an easy but simply brilliant crochet cardigan pattern for the small members of the family.
Such an enjoyable crochet project. I love the simplicity of this crochet pattern.
BUT please NOTE: this is not a beginners pattern, I would like to think if you have mastered simple pieces increasing and decreasing, you will find this a very easy project. It is made in basic shaped pieces and then sewn together.
You should have experience in shaping for pieces front and back and neck edges.
Please read through the WHOLE pattern before commencing.
This can be made for a boy or a girl, any colour you wish. The pattern gives it a really cosy texture and my niece loves her son wearing this hooded cardigan whilst out and about.
This can be made for a boy or a girl, any colour you wish. The pattern gives it a really cosy texture and my niece loves her son wearing this hooded cardigan whilst out and about.
More recently I have crocheted several versions of the cardigan for my Grandson.
It is so easy to make up and finish, it fits perfectly for the 3-6 month sizing and is chunky and warm.
It is so easy to make up and finish, it fits perfectly for the 3-6 month sizing and is chunky and warm.
The original Pattern used a crossed double crochet, single crochet pattern.
I have simplified the pattern using a Half Double Crochet. Throughout.
Directions are for size 3-6 months. Changes for 12 and 18 months are in the ( )
Directions are for size 3-6 months. Changes for 12 and 18 months are in the ( )
I only recently progressed to crocheting baby clothes, after mastering booties and hats, I love how easy and quick these baby sweaters are to make.
- Hook for 1st size I use 4.00mm,
- Bigger sizes 5.00mm
- Finished item Chest measured 18 inches (20", 21 3/4")
- Ch=chain
- sc=single crochet
- dc=double crochet
- Hdc - Half Double Crochet
Please NOTE: To decide if this pattern is suitable for you and your crochet skill set you should have a basic understanding of working in a pattern, increasing, decreasing
If you feel you want to start with a more beginner-friendly cardigan.
I also have an EASY Beginner Friendly Cardigan patterns for Newborn available on my site HERE
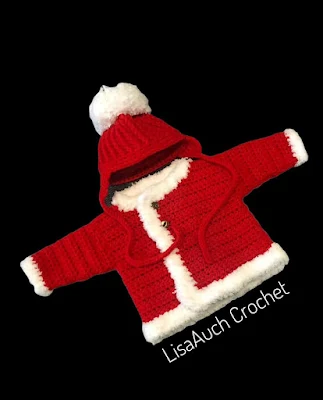
I Love the variations to the crochet cardigan pattern I have made over the years. I think my most favourite was a Santa Jacket for my Grandsons FIRST Christmas
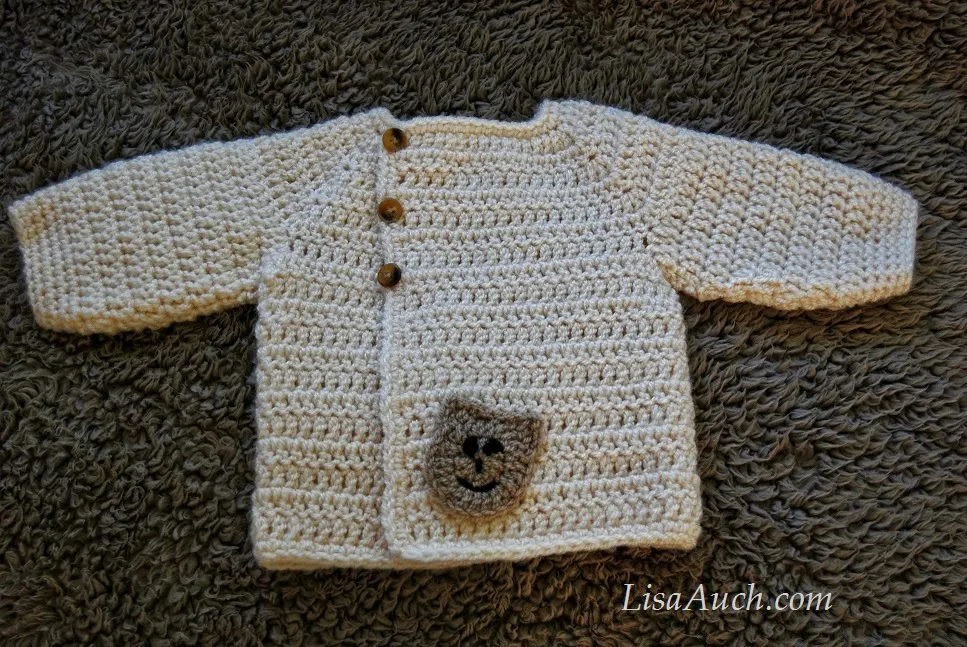
I simply made the BASIC cardigan without the HOOD for my Grandson when he was a few months older and you can see here in this picture I trimmed the edging with a soft white fluffy yarn.
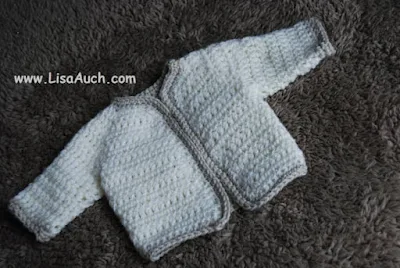
This set (grey Below) was for 6-month-old baby, again using the Basic cardigan crochet pattern with no hood.
The Crochet HAT and Booties Pattern can be found on my website
Crochet Hat with Earflaps and pom pom - HERE
Crochet Baby Booties in 3 sizes FREE Pattern HERE
HOODED CARDIGAN CROCHET PATTERN
Starting with the Back
Chain 33, (36, 39)
Row 1 (RS): Ch2, HDC in 2nd chain from hook and each ch across; turn 31 (34,37) sc
Row 2: Ch2, HDC, across, turn
Row 3- Row 24: CH2* HDC, across, turn* until back measures 9 1/2 (10, 11) * from beg.
Fasten Off.
FRONTS (make 2 noting the change for each sides)
Chain 15,18, 21
Row 1: Hdc in 3rd chain from hook, hdc to end
Row 2-21: ch2, HDC in each stitch, turn
(work exactly the same as back over 13, 16, 19 stitches until Row 21,( OR UNTIL FRONT IS 3 Rows less than length of back)
Shape neck -next Row:
Row-22: 10 HDC (leave remaining stitches unworked) turn, ch,2
Row 23-24: Work these 2 more rows, HDC for 10 stitches, turn, ch2
2nd Front
Chain 15, (18,21)
Row 1: hdc into 3rd chain from hook,* hdc across, ch2, turn* work exactly the same as back over 13,16, 19 stitches until Row 21,OR UNTIL FRONT IS 3 Rows less than length of back
Shape neck -next Row:
Keeping working in HDC rows,
Row-22: Slip St first 3 sts, work remaining 10 sts in HDC, turn, ch2
Row 23-24: Work these 2 more rows, HDC in the 10 stitches, turn, ch2
Fasten off.
 |
| Your 2 Front Pieces Should Look Like These |
Sleeves Read through all the instructions BEFORE starting
Ch 22, (24, 27)Row 1: Hdc, turn (20,22,25 ) sts
Row 2: Ch2, HDC, turn
Row 3: Ch2, HDC, turn,
Row 4 CH2, 2Hdc, in next stitch, hdc to last stitch, 2hdc in last st, turn {22}
Row 5: Ch2, HDC, turn {22}
Row 6: Ch2, HDC, turn {22}
Row 7: Ch2, HDC, turn {22}
Row 8: Ch2, 2Hdc, in next stitch, hdc to last Stitch, 2hdc, {24}
Row 9 +: ch2 working in HDC, increase 1 at END of EVERY row Until 30,(sts) continue working in hdc rows or until sleeve measures 6, 6 1/2, 7 inches.
Finish with 1 row HDC.
Work in established increase pattern for bigger sizes until length required is reached. ,
Extra sleeve Note: Increase 1 stitch at EACH end of every 4th row twice Only, Then, start increasing 1 at END of EVERY row Until 30sts
HOOD:
chain 53 (56,59) work in rows ,(ch2,HDC, turn) 53, 55,58 sts until work is 6"( 6 1/2", 7") from beg. Fasten off.
Putting together
Make sure you sew seams together keep your stitching loose and try not to pull work too tightly together. Start by Sewing together the shoulder seams. See Pieces Placement Picture above.
Mark fronts and back 4 1/2", (5", 5 1/2") down the seams.
Place centre of sleeve tops at shoulder
seams and sew in place between markers.
seams and sew in place between markers.
Again keeping your pieces together loosely to make sure they fit together (Do not pull tightly on threads used to sew sides together)
Sew neatly along sides and sleeve arms.
Sew Hood seam down the back. Sew Hood along neck from edge to edge.(you will find the hood is bigger when laid out than the actual neck line (along back, down shoulder, and along front)
Make sure you find back centre
of neck edge and sew the hood into place, sometimes 2 stitches of the neck edge to the 1 stitch of the hood, this gives a bulk shaping to the back of the hood for fitting head shape. )
Position your pieces as shown in the images below.
***I find weaving in all loose ends at this point really worthwhile, as we still have borders to do and it makes for a neater finish***
Sleeve Edging:
Sew up sleeve seem to With Right Side facing.Join yarn at lower Edge: chain 1 work SC around sleeve. Fasten off.
Button bands and Front Edging.
FPHDC and BPHDC = work front and back posts in half double crochet. 3rd row to form button Holes border. ONLY work this Row one side)
Buttons will be sewen onto Left side for a girl Right side for a boy
With RS facing join yarn at bottom edge and evenly in DC, work up the front side to the top, stop when you get to the join for the hood) , ch2, turn, work for 2 rows front Post Double Crochet (fpdc) back post Double crochet (bpdc.) If you do not know how to front post and back post crochet then you can simply use DC in these rows, the front post and back post just gives more texture to the front.
Button holes: Chain 2, work FPHDC, BPHDC alternatively for 7 ,chain 2,skip 1. FPHDC, BPDC alternativey, for next 11, chain2 skip 1. FPHDC, BPHDC alternatively for 11sts, , chain2 skip 1
Double crochet row on opposite side from holes to attach buttons to. Left side for a girl Right side for a boy
Single crochet around the hood front., slip stitch along the top of the opposite front band, and fasten off neatly. Weave in ends.
This gives a nice and neat finish around the hood part of the cardigan., and no loose threads
Make sure all ends are securely Fastened off and weave in any loose ends. ends.
Got the bug for creating cardigans - why try this easy cardigan sweater pattern.


