The Best Techniques for joining Crochet Granny Squares (FREE) If you love making crochet granny squares, you might wonder how to join them together to create a beautiful blanket, pillow, bag, or any other project.
There are many different ways to join crochet granny squares, and each one has its own advantages and disadvantages. In this blog post, I will show you some of the best techniques for joining crochet granny squares, and explain how to do them step by step.
These are some of the best techniques for joining crochet granny squares, but there are many more to explore and try. You can also mix and match different techniques to create unique and beautiful patterns. Have fun and happy crocheting!
What is the easiest way to join granny squares?
Worried about how you're going to sew your crochet squares together?
Maybe you are not sure what joining technique you should use to connect these squares together?
Most people want to know what is the best method to connect your squares together? Either by sewing each square together OR joining the squares as you go bringing the crochet granny squares together for a neat and tidy finish?
If you love making crochet granny squares, you might wonder how to join them together to create a beautiful blanket, pillow, bag, or any other project.
There are many different ways to join crochet granny squares, and each one has its own advantages and disadvantages.
In this blog post, I will show you some of the best techniques for joining crochet granny squares, and explain how to do them step by step.
All of these how-to-join Granny Squares techniques are free and easy to learn.
These are just some of the best techniques for joining crochet granny squares, so you can choose the one that suits your style and preference.
I Personally USUALLY ALWAYS use the whip stitch method to join my squares.
And you keep asking for a tutorial. But You all know me by now I get flustered when someone asks for a tutorial!
The Granny Square Headscarf pattern is my own and available for FREE - HERE
I managed to ask some of my crochet friends to share their BEST crochet joining methods and How to sew and join crochet squares that they recommend!All of the methods I have chosen to share are FREE to access and have tutorials
Sewing crocheted granny squares together can make or break your beautiful project! The chosen way of joining the granny square seams can be the Finishing touch your project needs
It is easy to join the squares using several different ways, but each method requires a little time and care and can finish off your end product making it look extremely well-made and more professional
You may think I have added several similar ways to join your crocheted squares!
The reason is I Love the different styles of teaching in the tutorials to give you a mix of step-by-step guides and techniques for sewing granny squares together including written, photo, or video tutorials for each of the joining methods.
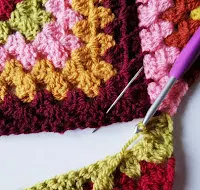
With my needle and yarn, I go through the 2 front loops of the squares (when sitting side by side the 2 furthest away loops of stitches of the last rows, pulling through and going then continue working into the next set of back loops Always working in the SAME direction.
How to Whip Stitch
Whipstitch is one of the simplest and most common ways to join crochet granny squares. It creates a flat and sturdy seam that is almost invisible on the right side of the work. To do a whip stitch, you will need a tapestry needle and a matching yarn.
- Lay two granny squares next to each other, with the right sides facing up.
- Thread the tapestry needle with the yarn and knot the end. Insert the needle from back to front through both loops of the corner stitches on both squares.
- Pull the yarn through, leaving a small tail to weave in later.
- Insert the needle from back to front through both loops of the next stitches on both squares and pull the yarn through.
- Repeat this process along the edges of the squares, making sure to keep the stitches even and not too tight or too loose.
- When you reach the end of the edge, knot the yarn and cut it, leaving a small tail to weave in later.
But these are my favorite, clever and interesting ways to join our squares.
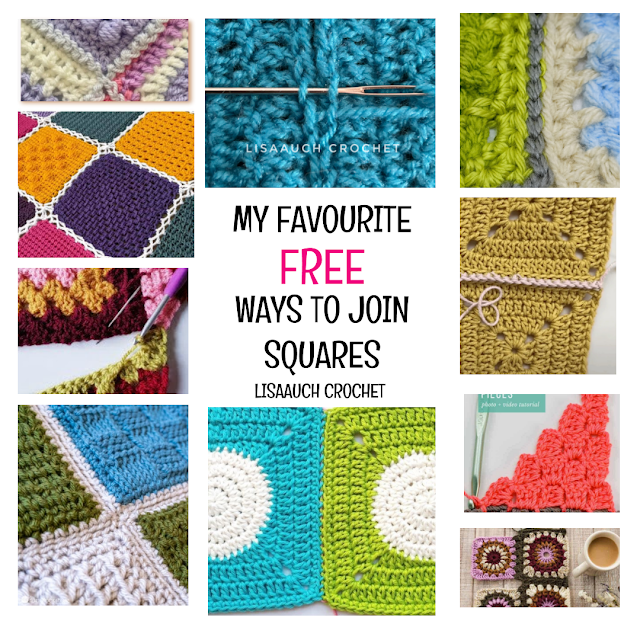
The pictures below all belong to the respective designers and I have provided a link straight to the designer's tutorial page.
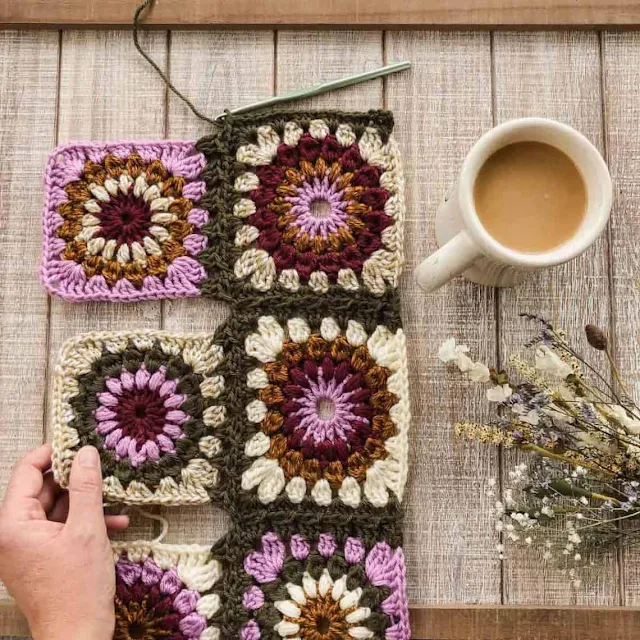
I have added this full blanket tutorial as it is a perfect way to show that joining your squares or motifs or shapes need not be difficult and sometimes a seam is made to be SEEN. I love the contrasting color used to join the squares
Try this Join as you-go style with this easy chain, sc method
This post is actually a very cool zig-zag granny scarf and the step-by-step tutorial with photos will help guide you in joining your squares
The Mattress Stitch is EASY is a fantastic seaming method for crochet granny squares, and it creates a FLAT seam! I'm definitely trying this one next time I have some squares to Join.
The Zipper join from Sunflower Cottage Crochet is an interesting join that first looks like surface crochet onto the piece however it's a clever way to join the sides of the Square!
This is a Seamless join for the Corner to corner stitch from Jess over at Make Mend and DO
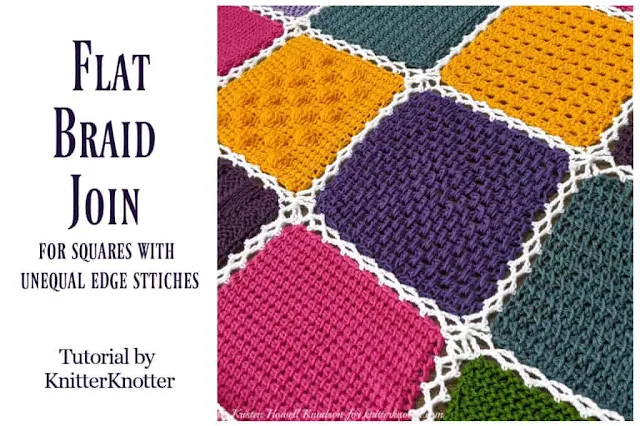
Although this example of joining squares is Tunisian Crochet, The principle behind it is quite literally Genius! Especially If you have different stitch counts for each individual square.
There is a Left and Right handed video to show you how to join your uneven squares with a FLat Braid Join. FREE tutorial By The KnitterKnotter HERE
How about a Join as you GO Method
How to join crochet squares as you go. Jess from Make and Do Crew says 'this method of working and joining as you go allows the joining "seam" to lie very flat. Apparently excellent especially for drapey garments or blankets' FREE join as you Go Technique HERE
How to do the Slip Stitch method of Joining Squares
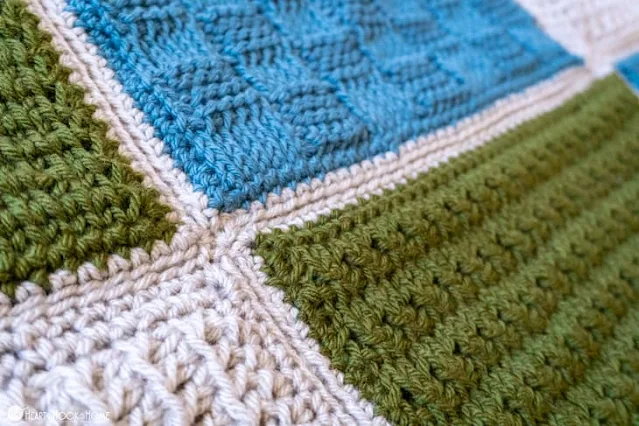
Over at HeartHookHome Ashlea says 'to join squares together squares she prefers to use this slip stitch method because it is so easy and is a fast method of joining, Even if there are uneven numbers on the square sides!
Joining 2 squares together using single crochet
Hannah from HanJan Crochet uses her hook and yarn to join these 2 squares together, whilst working in single crochet over the 2 side seams.
I Like this method If I am wanting to add raised texture to say a Hat I am making and using Granny Squares. I used this type of joining method in My Granny Square Bucket Hat Pattern to give more definition to the structure of the hat - FREE HAT PATTERN HERE
You can see how to do this joining method at HanJanCrochet where Hannah has 3 methods of joining available on this page
Zig Zag Joining Method
Now Fiona over at Cosy Rosie has this wonderful full-textured zig zag method of joining the seams! I love this look. See how to join your squares using the Zig Zag Method - HERE
If find any more interesting joining methods I will keep adding them here! for you.
Please Pin this for Later on Pinterest
Terms Of Use
Thank you for visiting my website or purchasing a pattern. It helps me to maintain the website and buy new materials to make even more FREE PATTERNS. As always you are free to make and sell items you have made from the pattern. But you must acknowledge LisaAuch.com as the original designer. YOU will NOT copy or distribute the pattern online TEXT OR PDF, in part or whole anywhere else, or by creating an online video of my pattern. Without my express written permission. You can share a picture of the finished item. With a link BACK to a Page with my website on it You must NOT use my pictures in any way to sell a finished product. You must use your own. You will NOT copy or duplicate this PATTERN (whole or in part) onto ANY other SITE online. Without my express written permission.
Happy Hooking LisaAuch.com

