How to You crochet a hat that fits?
These Printable crochet Hat Templates will allow you to be as creative as you wish and design your own crochet hats that will fit ALL SIZES.
I wish I had this years ago when I started crocheting
 |
BUY The Crochet Hats (ALL SIZES) Templates HERE from ETSY |

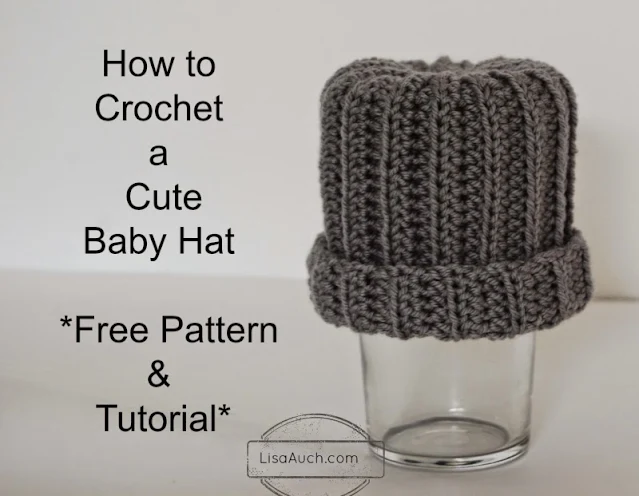
you can find the FREE BABY Hat Pattern and Tutorial
What you will need to crochet this Beanie in DK yarn
- 4.50mm hook (or hook to achieve gauge ) Please note I am a VERY loose crocheter so if you feel you need to you can go up a hook size to achieve your sizing.
- Double Knit Yarn (8 Ply)
- Written in US terms
Gauge 6 dc = 2 inches
Can you make this hat bigger or smaller? - sure you can simply drop a hook size or go up one size of hook.
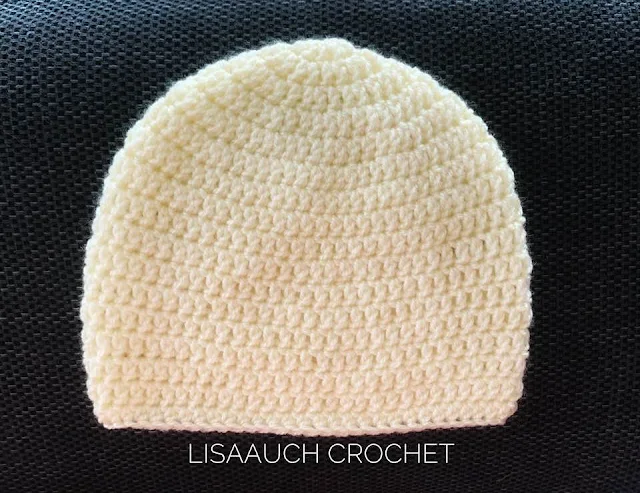
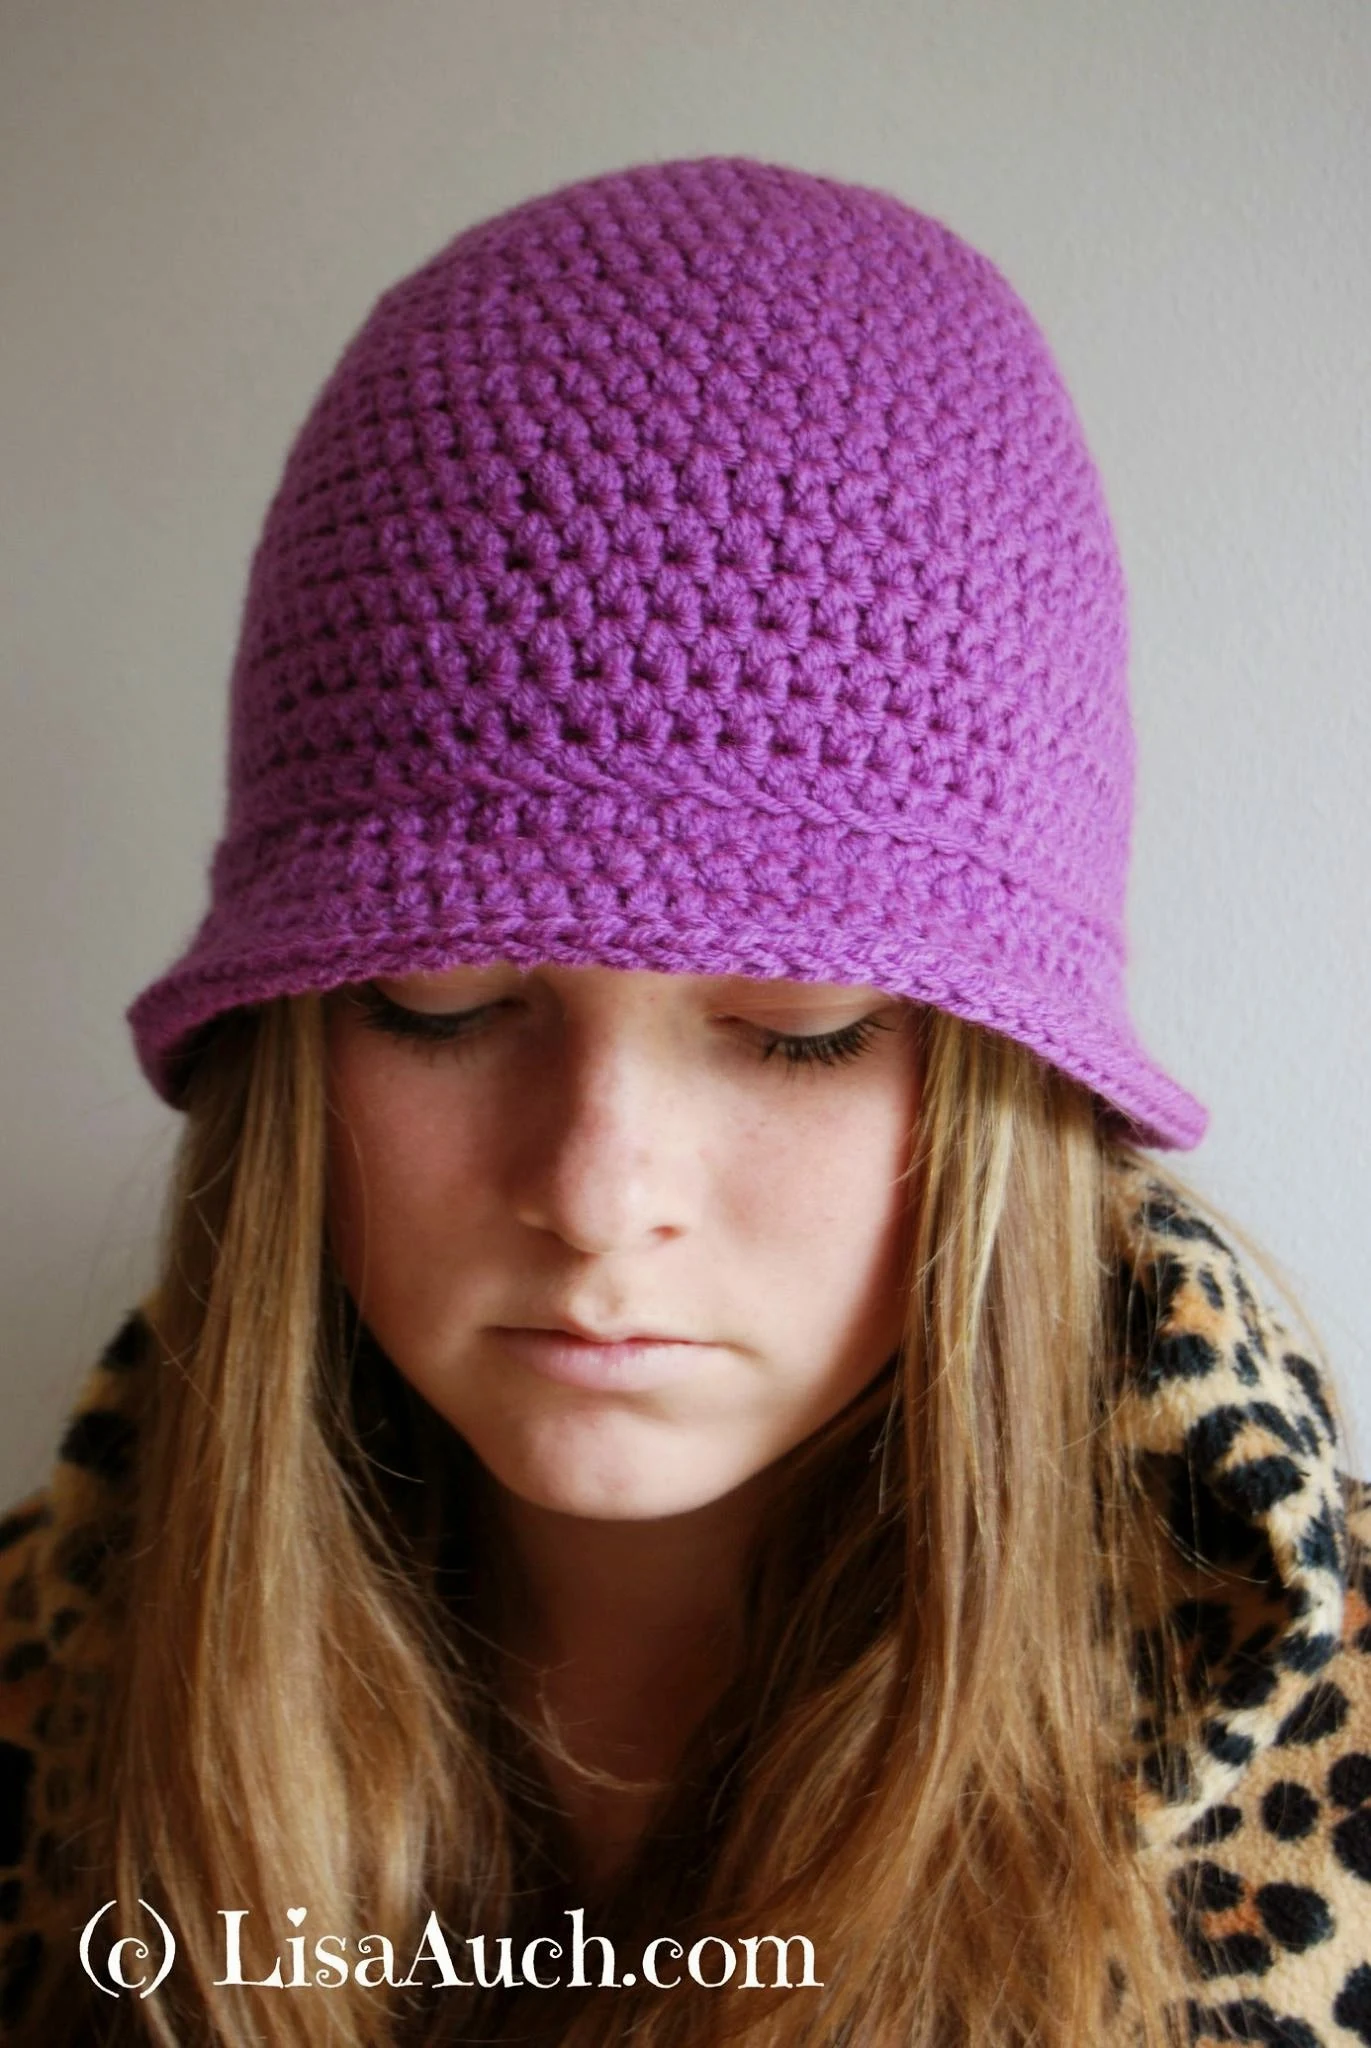
The hat once finished will fit a MEDIUM / LARGE ADULT
The Hat Circumference will measure approximately 21 inches
The crown Diameter will measure approximately 7.5 inches
The Hat Height will measure approximately 8.5 to 9 inches
NOTE: You will work in Rounds, and slip st to join to the chain at the start of the hat,
The FIRST stitches are Worked INTO THE BASE of the Chain stitch.
Ch - Chain
Dc - Double Crochet
slst - Slip to the top of the beginning chain
Rnd 1: 10dc in ring, sl st to first dc, ch 2.
Rnd 2: 2 dc in base of chain, 2dc in next st, and in each st around,sl st to top of ch 2.(20 sts)
Rnd 3: Ch2, 2dc in next dc, (dc in next dc, 2 dc in next) repeat around, sl st to top of ch 2. (30 sts.)
Rnd 4: Ch2, 2dc in base of chain (dc in next 2 dc, 2 dc in next dc) repeat around,sl st to top of ch 2 (40sts.)
Rnd 5: Ch2, 2 dc in base of chain (dc in next 3 dc, 2 dc in next dc) repeat around,sl st to top of ch 2. (50sts).
Rnd 6: Ch2, 2dc in next dc, (dc in next 4 dc, 2 dc in next dc) repeat around, sl st to top of ch 2. (60 sts).
Rnd 7: Ch2, 2dc in next dc, (dc in next 4=5 dc, 2 dc in next dc) repeat around, sl st to top of ch 2. (70 sts).
you have now reached the circumference of your hat, so if you think you need it larger just continue increasing in the established pattern, Continue working the first DC into the BASE of the ch2.
Rnd 8 to Rnd 16: Dc in each stitch around, slip to join, ch 2. (Or Work until the desired length is achieved)
Rnd 17: I like to finish off with a smaller crochet stitch. I would work Half Double Crochet Around.
But you can still finish with the Double Crochet stitch around (60 sts).
Fasten Off and Weave in ends


