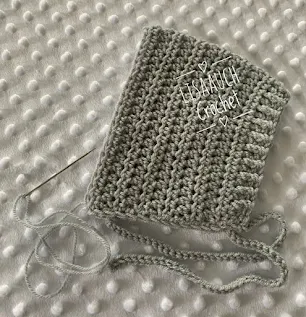
This cute little Pixie Bonnet is absolutely adorable on a newborn. It has a slight peak at the crown and ties at each side of the face to keep secure and snuggly warm for the baby.
My daughter recently gave birth to a little boy and everything has been grey, But I've also made this in a beautiful vibrant red yarn with white fur trim at the face all ready for the winter Christmas Season
This is the DIRECT link to Download from Ravelry with Immediate Checkout from Secured Payapal
Once paid with Secure Paypal checkout and PDF delivered
straight to your email. Thank you for your continued support
- Newborn: Starting Chain to measure 11" and ROWS worked = 5.25"
- 0-3months: Starting Chain to measure 12 " ROWS worked = 5.5"
- 3-6 months: Starting Chain 12.5" Rows worked to measure = 5.75"
- 6-9 months Starting Chain 13.5 " Rows worked to measure = 6.25"
- 9-12 months Starting Chain 14" Rows worked to measure = 6.75"
- 1-2 years: Starting Chain 14.5" Rows worked to measure = 7"
- 2-5 years: Starting Chain 15.5" Rows worked to measure = 7.5"
- 5-10 years: Starting Chain 16.5" Rows worked to measure = 8"
- Teen Small Adult: Starting Chain 17.5" Rows worked to measure = 13.5"
Materials Used for the Grey Bonnet in the pictures shown
I used StyleCraft DK special in Grey4.500mm hook
Gauge: 4 HDC = 1 inch Please NOTE: ( I crochet extremely loosely so to achieve your length and Width please adjust your starting chain or Hook Size)
Pixie Baby Bonnet Pattern by LisaAuch
I will be making the first size.
Chain 43, (Loosley, even consider going up a hook size just for the starting chain, this will become the FRONT border where we work the FPHDC, BPHDC so it must be loose)Or chain until your length is achieved +3 extra chains
ROW 1:
work 1 HDC in 3rd chain from hook, HDC in each chain until end. Ch2 TURN (41 HDC)
ROW 2 to ROW 12 (or until work measure total width required)
work 1 HDC in each st, Chain 2 TURN,
HINT: (as you are working these rows start to really loosen off your tension, if you find this hard to do, make a swap to a bigger hook size halfway @ ROW 6
FASTEN OFF, leaving a long tail to join the LAST stitch in Row to FIRST stitch in Row (this will become the BACK seam that we will sew up to close)BONNET BORDER for FACE (Change yarn if you wish to preferred color)
Row 13:
Join NEW Yarn at the FIRST chain at START.
ch3, Work HDC in the BASE of the first stitch, (FPHDC around starting rows HDC, BPHDC in next) repeat to end. DO NOT TURN,
Chain 41, (creating the Tie)
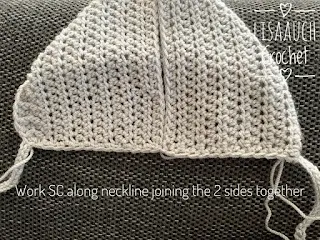
when you get to the end of the first piece slip to join the back seam together and Continue working evenly along the neckline in SC until the end,
 |
| work single crochet evenly joining both seams together |
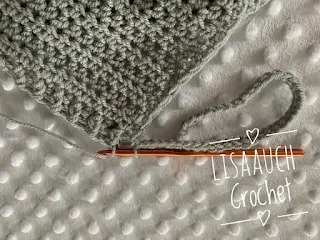
Ch41, (creating the 2nd Tie)
Slip Stitch BACK along the chain you have just made, Slip to Join,
AND then continue
Row 14: Work 1 more row (FPHDC, BPHDC ) repeat along the front of the Bonnet, slip to join
ROW 15: Work 1 more row HDC along the front of Bonnet, slip to join
FASTEN OFF and weave in all loose ends neatly
using a needle sew the back seam neatly together
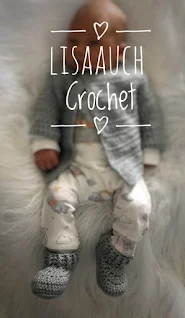
How about making a Matching set of booties making the perfect gift for a newborn baby.


