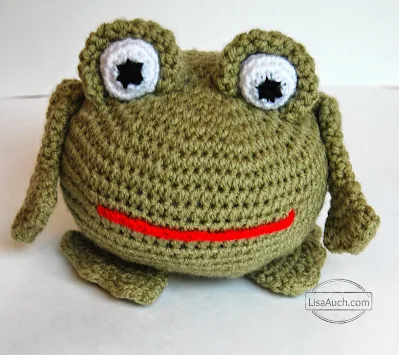
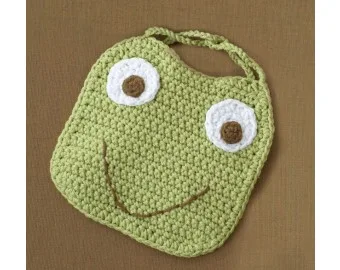
Crochet this adorable Frog Doorstop with this free easy crochet pattern. This is a brilliant crochet gift idea for those that LOVE frogs.
With the most adorable 3D frog eyes (currently On-trend and using these frogs eyes on crochet bucket hats
And because I LOVE frogs I have added some links to websites with some of the cutest FREE frog Patterns I find online. Find these Patterns further down the page So Cute Quick and Easy
I am always looking out for cute amigurumi crochet patterns for stuffed animals, and recently I was asked to crochet a frog.
I am always looking out for cute amigurumi crochet patterns for stuffed animals, and recently I was asked to crochet a frog.
Guaranteed I found several cute frog amigurumi patterns and several more frog hats! however, I just couldn't find exactly what the customer was wanting.
I have also been 'frogging' a lot of my work recently and hopping mad over a few crochet-related things, and I have been wanting to make a crochet frog for some time.
you can make your frog's eyes really pop with this easy-to-follow pattern for awesome amigurumi eyes, which really make your frogs' eyes POP!
This pattern also makes the most PERFECT Frog DOORSTOP.
All you need to do is weigh it with a bag of sand or stones inside as you are stuffing it
Amigurumi Eyes Crochet Pattern
Rnd 4: ch1, sc around in each stitch, slip to join.
Rnd5: *Sc2tog, sc in next 2 sc, rep from * around (12 sc)
(Sc2tog) around - 6 sc. finish off and neatly weave all ends to the back of the frogs eyes. knot together securely and fasten off leaving 1 long tail for securing to the eyelid
See Pictures for help in assembling eyes.
Both eyes
Fold 1 circle in half, place eyeball in the middle of a semi-circle, and fold over to cover eyes.
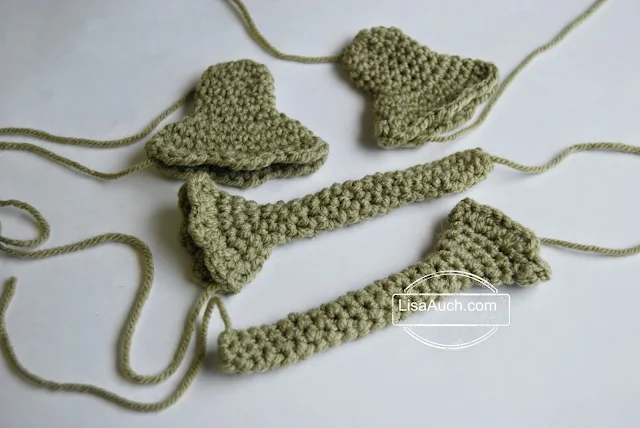
Sew all pieces onto the body as seen in the picture below and you are finished.
Gauge is not important for this
I used Green Aran 100g,
the small ball end of white, and black needed for eyes.
I used a 3.50mm hook (this is my preference when making amigurumi)
US crochet Terms used in this pattern
Stuffing.
Tapestry needle for weaving in the ends.
Stitch marker (or another color of yarn: place marker for beg of rnd; move marker up as each rnd is completed.
Work in continuous rounds
Body
Green ch 2.
Rnd 1: Work 6 sc in first ch
Green ch 2.
Rnd 1: Work 6 sc in first ch
or 6 sc into Magic circle
Rnd 2: 2 sc in each sc around (12 sc)
Rnd 3: *2 sc in next sc, sc in next sc, rep from * around (18 sc)
Rnd 4: *2 sc in next sc, sc in next 2 sc, rep from * around (24 sc)
Rnd 5: *2 sc in next sc, sc in next 3 sc, rep from * around (30 sc)
Rnd 6: *2 sc in next sc, sc in next 4 sc, rep from * around (36 sc)
Rnd 7: *2 sc in next sc, sc in next 5 sc, rep from * around (42 sc)
Rnds 8-17: work in Sc in each st around.
Rnd 18: *Sc2tog, sc in next 5 sc, rep from * around (36 sc)
Rnd 19: *Sc2tog, sc in next 4 sc, rep from * around (30 sc)
Rnd 20: *Sc2tog, sc in next 3 sc, rep from * around (24 sc)
Rnd 21: *Sc2tog, sc in next 2 sc, rep from * around (18 sc)
Rnd 22: *Sc2tog, sc in next sc, rep from * around ( 12 sc)
Stuff your piece and start to shape
Rnd 23: (Sc2tog) around - 6 sc.
Fasten off, leaving a long tail. weave in all ends and fasten off securely.
Eyelid (make 2 circles)
With green ch 2.
Rnd 1: Work 6 sc in first ch,
With green ch 2.
Rnd 1: Work 6 sc in first ch,
or 6 sc into Magic circle
Rnd 2: 2 sc in each sc around - 12 sc.
Rnds 3 and 4: Sc in each sc around.
Fasten off. Leaving long tail ends for securing eyes and eyelids to your frog's head.
Rnd 2: 2 sc in each sc around - 12 sc.
Rnds 3 and 4: Sc in each sc around.
Fasten off. Leaving long tail ends for securing eyes and eyelids to your frog's head.
Whites of Eyes (Eyeball Make 2)
With Black, Rnd 1: Work 6 sc in the first ch
or 6 sc into Magic circle
Pull tight, and finish off. Join white.
Rnd 2: Ch1,2 sc in each sc around slip stitch to join to ch1, (12 sc)
Rnd 3: ch1, *2sc in next sc, sc in next sc, rep from * around, slip to join. (18sc)Rnd 4: ch1, sc around in each stitch, slip to join.
Rnd5: *Sc2tog, sc in next 2 sc, rep from * around (12 sc)
(Sc2tog) around - 6 sc. finish off and neatly weave all ends to the back of the frogs eyes. knot together securely and fasten off leaving 1 long tail for securing to the eyelid
See Pictures for help in assembling eyes.
Both eyes
Fold 1 circle in half, place eyeball in the middle of a semi-circle, and fold over to cover eyes.

Legs/ Foot Pads (make 2)
With Green, ch2
Rnd 1: Work 12sc in the first ch
Rnd 2 to Rnd 6: sc in each stitch around
Rnd 7: 2sc in each stitch around (24)
Rnd 8-9: sc around
Rnd 10:*sc, dc, 2trc in same st, dc*, repeat around, slip to join the last stitch, fasten off leaving a long tail.
Join the toe shells together by sewing the ends together (3 shells)
ARMS and Finger Pads (make 2)
With Green, ch2
Rnd 1: Work 6sc in the first ch
Rnd 2: to Rnd 18: sc in each stitch around
Rnd:19 2sc in each st around (12)
Rnd 20: sc in each st around (12)
Rnd 21: *2sc, sc *, repeat around (18)
Rnd 22: sc in each st around (18)
Rnd 23: sc in each st around (18)
Rnd 24: :*sc nxt st, dc in nxt st, 2trc in nxt st * repeat around, slip to join the last stitch, fasten off leaving a long tail.
Stuff arm very lightly,
(wrist)
sew across Rnd 20 (do not fill the finger pad areas)
Join the 3 shells together by sewing ends together.
Sew all pieces onto the body as seen in the picture below and you are finished.
This little guy is filled with sand and is being used as a Doorstop.
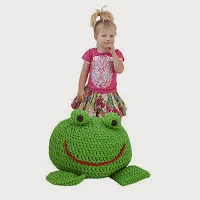
After everyone asking me for more Frog Crochet patterns I have posted my favourite ones here, from cuddly cushions to kids foot stools, even a princess and her frog. Have fun.
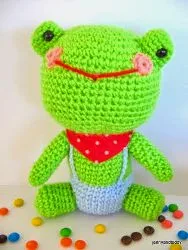
Meet Gilbert the Frog - He is cute and cuddly and looks too cute with his woogly eyes (Free pattern is on this blog)
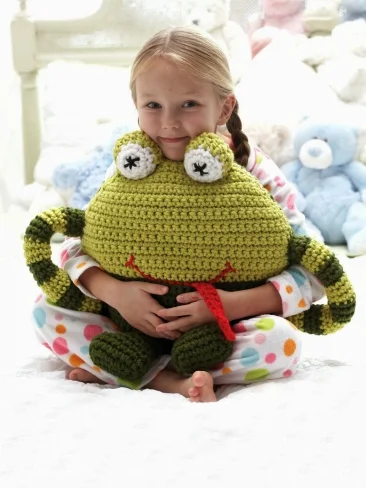
Squishy Huggable Frog Pillow
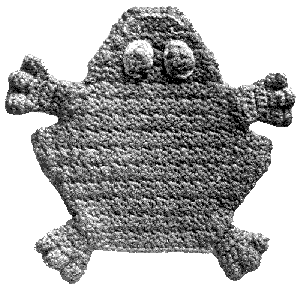
Vintage pattern for a Frog Potholder
I do not know about the kids - I WANT ONE too
Is this not just the cheekiest Frog EVER!
Our friends over at Crochet Memories always have something special to give us, this Adorable Bullfrog fridgie is too cute


